Wednesday, 15 October 2014

WIP Wednesday: Quilting Triangles!

Last Christmas, I bought myself a present.  I joined a weekly sewing group and wanted a smaller machine that I could carry.  My normal machine is a Husqvarna Viking and it weighs a ton.  I had a disk problem in my back a few years back and I am very wary of carrying heavy sewing machines!  So I settled on this little Pfaff Passport 2.0.

I love this for piecing and when I used it during a free motion quilting class at the Limerick Quilt Centre,  Mary Palmer was impressed with the tension on it.  My Husqvarna always requires a tension adjustment for FMQ and piecing but it does have a huge harp space (between needle and body of machine).  Little Pfaff not so much, but I thought I'd use it for my triangle quilt.

I discovered that when piecing triangles you lose a lot of width when the seam allowance is sewn in.  Not so much on height but it meant my triangle quilt was a bit smaller than I thought it would be.  Suits me being 5ft zero but probably not most people!

Small quilt, small machine, I decided to try and give it a go.  Plus the Pfaff has a built in walking foot (Pfaff call it IDT).  I love this feature.  You just pull down a black plastic arm at the back and even feeding of the fabric from top to bottom happens automatically!


When I first looked at quilting this, I thought straight line quilting beside the seams was a bit too obvious and then as it's been hanging along so long, I thought obvious is a perfectly fine strategy to pursue, so straight line it was.  I broke my 1/4" piecing foot accidentally (had moved the needle for a zipper foot and forgot to move it back!) so I used the standard foot instead and it gives a line about 3/8" away from the seam.


I turned on the new season of Scott & Bailey to watch (UK detective series) and straight lined away.  I know some people enjoy this bit and zone out.  I have to confess I find it a little bit boring though I really like the look.


Even straight line quilting I found it easier to move the quilt with quilting gloves.  I use Machingers size small.  They give you a guide on the back of the packet to place your hand to see what size you are.  My friend Louise was advised to go a size smaller again as they stretch after a while using them and I can attest to that.  I kept having to pull them up, so on the list to buy at the Knitting & Stitching show are XS gloves!


Things were going great across the long diagonals mirroring the triangles and I was tempted to stop there after two lines crossing over.  This would have left me 9" at the widest space between the quilt lines and my batting is good for up to 10" apart.  As this is probably going to be washed a lot, I went for the last line echoing the horizontal lines across the quilt.  At this point I got a few puckers - maybe three lines crossing over was a bit too many to chance my luck?

It only happened in the yellow fabrics which are from the Minimalista range.  They feel smoother to the touch than the other fabrics and I didn't pre-wash as these triangles were from fat eights that I had starched.  The Florence fabrics I used, despite not having perfect points everywhere, glided over smoothly.  I'm happy enough with the result and figure in the wash they might disappear!


I originally thought I'd use black for my binding but when I placed it next to the quilt it looked too harsh.  I'm thinking a darkish grey would work better.  This grey seems a little too blue so it looks like I need to make a trip to the quilt shop and see what I can get to finally finish this little quilt. 


You may have noticed I didn't do a round up of Quarter 3 FAL goals.  Well, that's because I didn't finish any!  I did come close with 2 projects but fell shy of the finish line.  So this post is in Work In progress Wednesday rather than Finish it Friday!  Oh well, there's always this quarter!

Linking up to

Sew Fresh QuiltsWIP Wednesday at Freshly Pieced
My Quilt Infatuation

Sunday, 12 October 2014

Global Scrap Bee - my very first Bee!

Image text here Image2 text here
I might have mentioned I found myself in 3 Bee's this year.  Global Scrap Bee has just come to a close and though I am relieved to be down to a more manageable 2 Bee's, I feel a bit sad about the end at the same time.  This was my first Bee and I loved it.
Image text here Image2 text here
As an online virtual quilting Bee, we came together through the Plum & June New Bloggers hop from 2013.  There was a bee for US residents and one for those living outside the US who didn't mind paying the postage.  13 of us came together from Canada, Ireland, Germany and Italy on Flickr and signed up for 1 block per month.  In order to keep postage to a minimum, we decided to go with a scrappy theme and use fabric from our own stash and whatever scraps we had on hand.  Quite a few of these blocks were made purely from my scrap basket.
Image text here Image2 text here

We were led by our Hive Mama Adrienne from Chezetcook's Modern Quilts.  On the first of every month the Queen Bee got to pick a block and either send a link to a free tutorial or write one for us to follow (we all picked free tutorials!)  Maximum block size was 14" and the requirement was to send 1 block or if you had the time you could make more!
Image text here Image2 text here


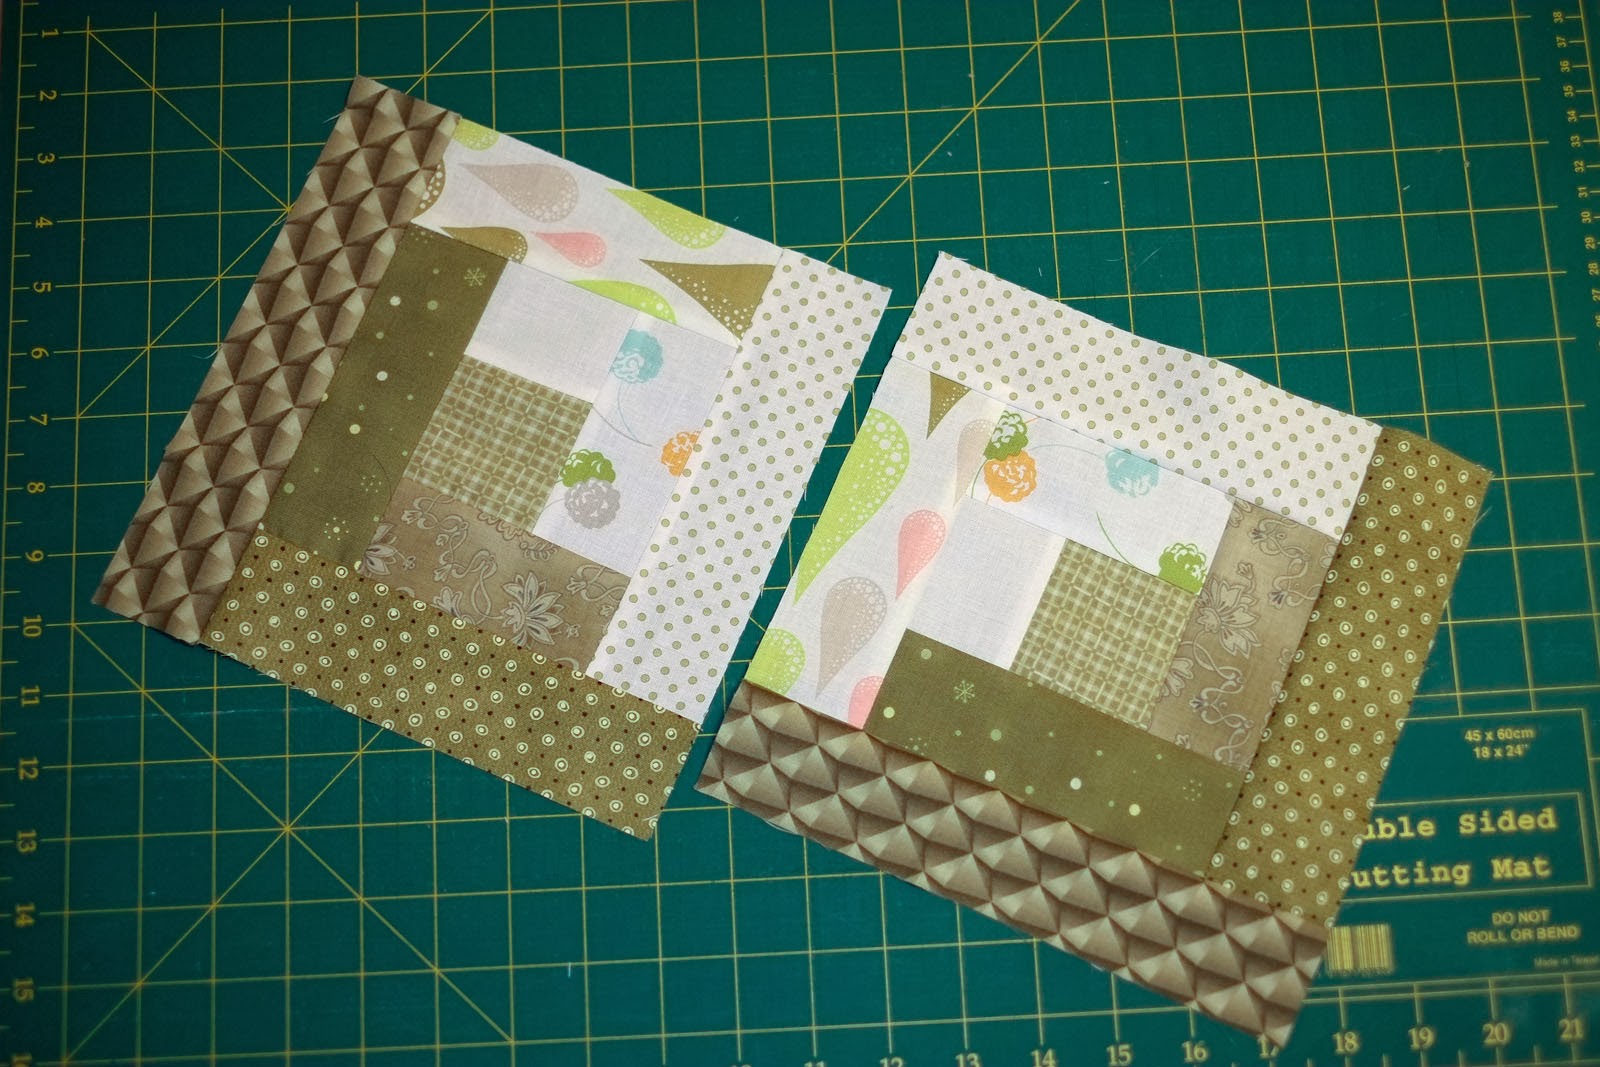
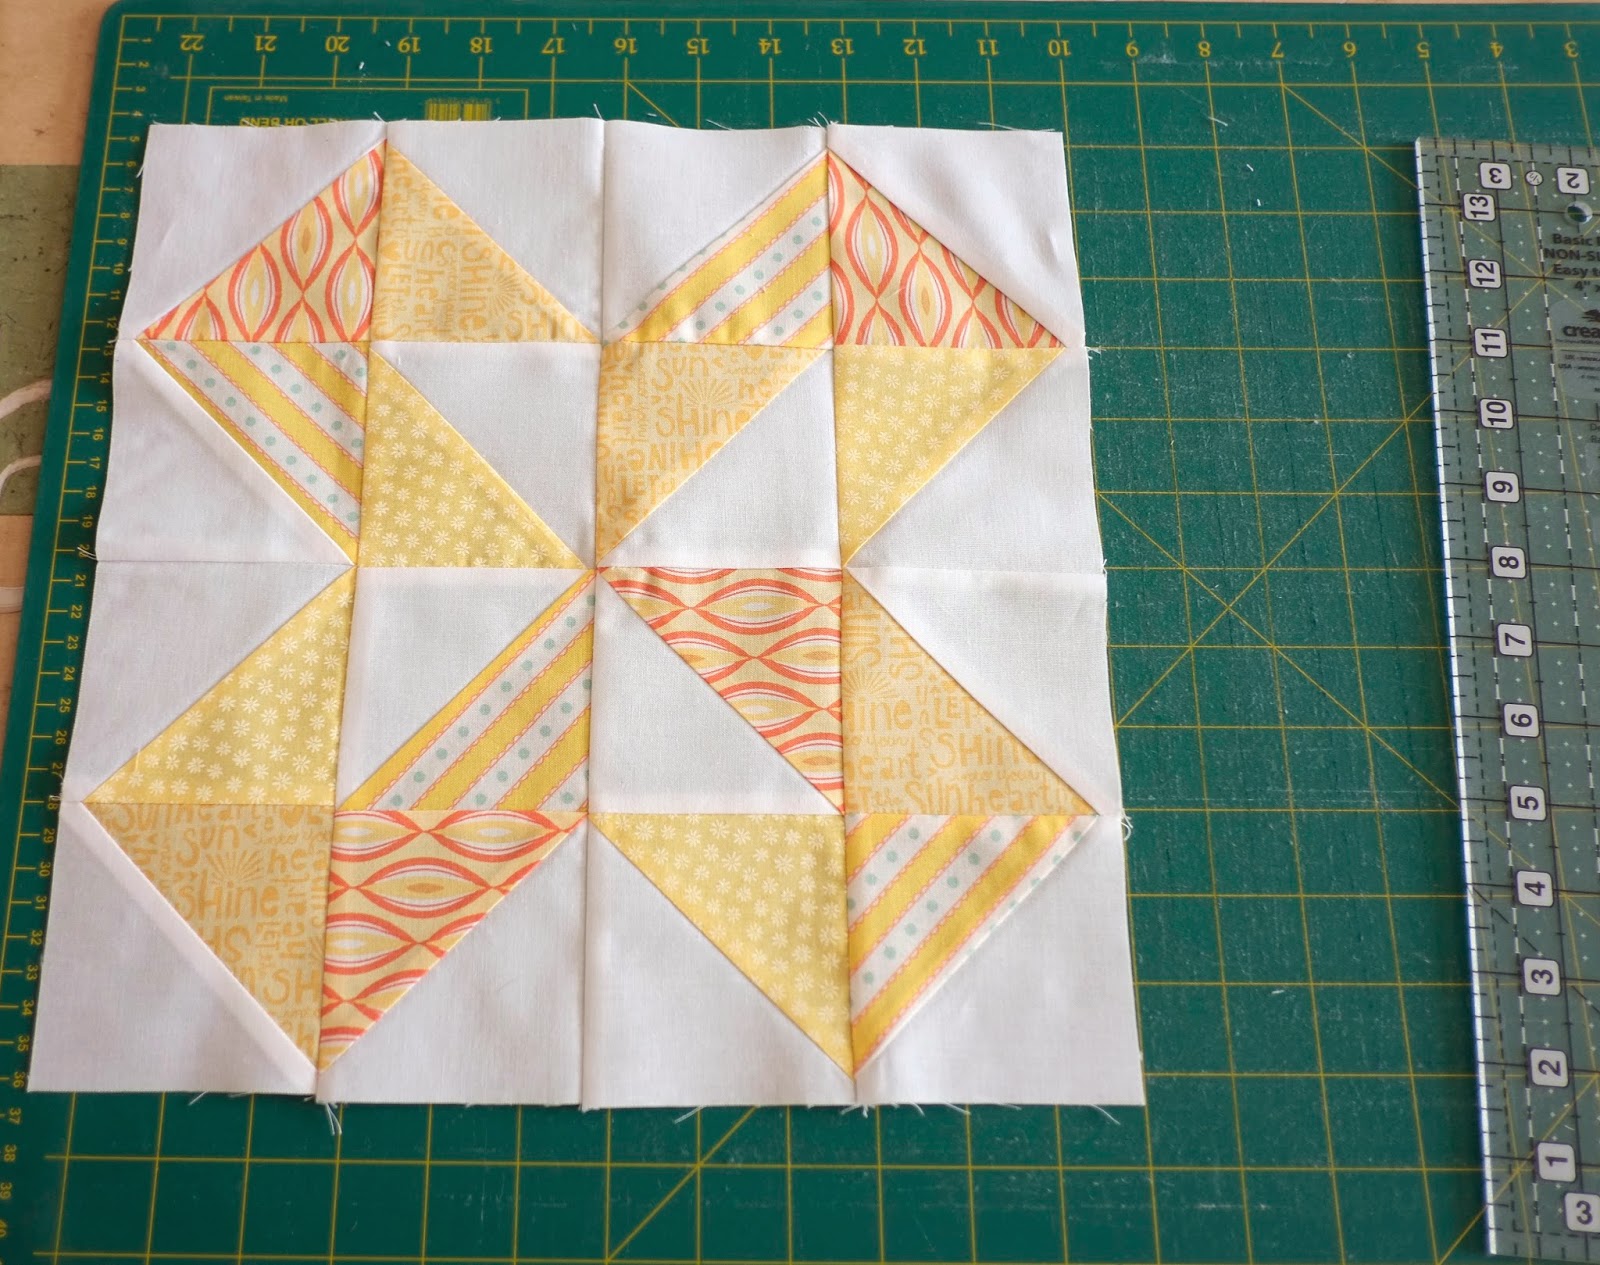
I think you can see from the variety here we had a great selection of blocks over the course of the year!  From modern rail fence blocks to scrappy stars to paper pieced kaleidoscope blocks.
I had trouble with one block when I got my new sewing machine and discovered my 1/4" foot on my Pfaff was not 1/4"and had to remake this scrappy star  as all of my points would be lost when pieced to the next one (brilliant scrap busting block!)

Image text here Image2 text here
The Colorado Beauty block was the one that got the most comments!  The choice of colours for most blocks was left up to the maker but in the case where a rainbow was wanted the Queen Bee for the month listed the colours requested on a discussion page in the Flickr group. We then put our names against the colour we wanted to make.  It was an easy way to not get all blue blocks!

This was my choice for May.  I chose this scrappy star from Clover & Violet with low volume scraps for the background.

When sending blocks, we put up a picture in Flickr and a note on the discussion page for that month to let our Queen Bee know they were on the way.

When they were received, our Queen posted a thank you note.  The ladies in this Bee were fantastic and we had only one drop out across the whole year so our Bee became 12 instead of 13.

It was great fun looking at the finished quilts and spotting your own block in the mix!  
Image text here Image2 text here

Image text here Image2 text here
If any of these blocks catch your eye to make, I have updated my useful links page with links to how I made mine and the original tutorials, except for this last blue block called Urban Chickens which I neglected to put in a blog post.  The tutorial can be found at Wombat quilts here.

All in all this was brilliant Bee to be a part of - thank you ladies!

Wednesday, 8 October 2014

Stash Bee Improv block tutorial kind of!


So Karen @ Sew Hub set us a bit of a challenge for Stash Bee Hive #10's October block.  Karen wanted us to make a strip block 16" to 18" square, cut it up any which way we wanted and then sew it back together again! Oh and the colour palette was grey, plum and duck egg blue!


Now those that have been reading about my quilt exploits for some time know I'm drawn to brights and warm colours with a bit of a text print and blue addiction.  Plums, pastels and prints with a lot of grey tints to them don't live in great numbers in my stash!  But I am a big fan of Lynnette Anderson

I made my mini quilt for Schnitzel & Boo's 2013 swap using 2 of her panels for the A Dog's Life Quilt and when she released her Quilters Garden collection, I did buy a jelly roll and 2 charm squares.  Turned out to be perfect for this month's block!
When I first read the intro to this block I thought how cool, this will be great fun, and then very quickly reality set in and it was how am I going to do this?  Karen had given us a breakdown of how she had made her block and we could copy her if we liked or do our own thing.  I was tempted to follow Karen's lead but then in the doing, got brave and sliced into the strips quite happily!

I chose 9 Jelly roll strips I thought would give a nice variety and cut to 18" long and chain pieced them together.

Next step was to cut the 18" square into quarters.  I just folded the block in half and finger pressed to find the centre and cut along that line.


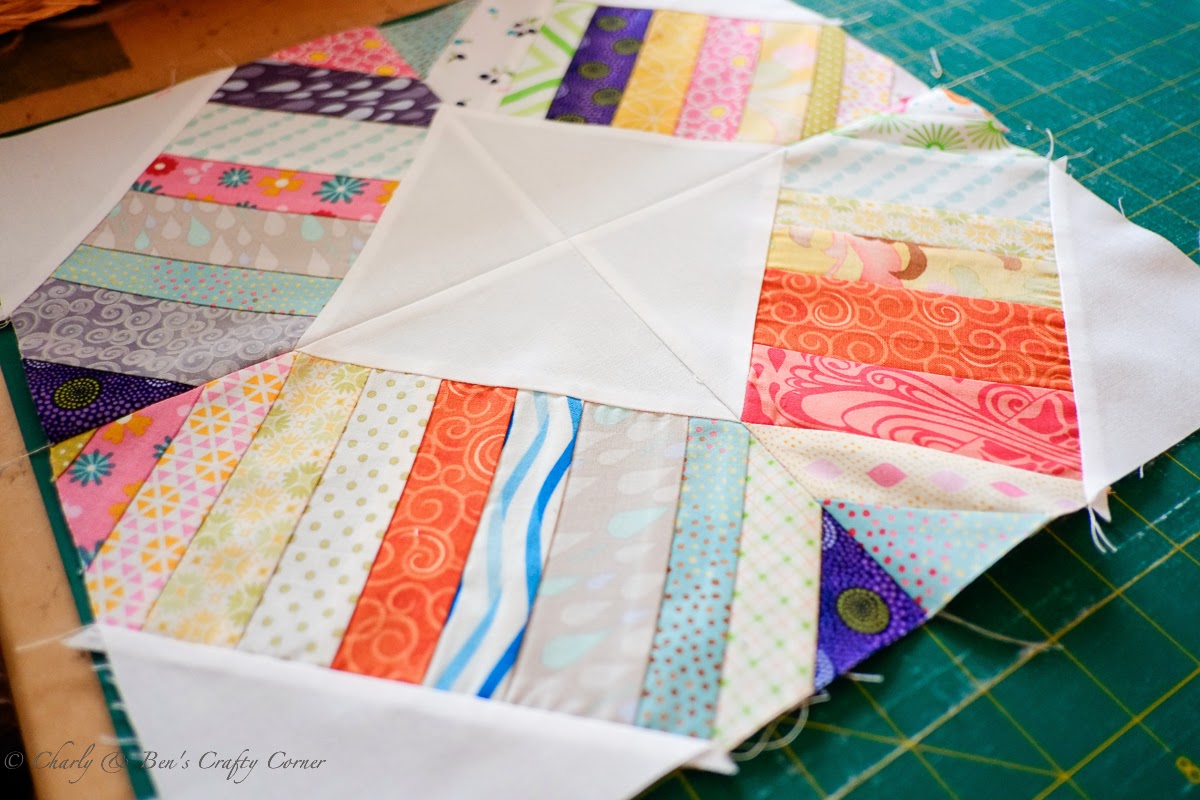
Karen had cut 2 of her quarters into triangles, I decided to cut all 4 and play around with them to see what I could get.  I didn't get the variety I wanted in just cutting them in half on the diagonal once so I quartered them again by cutting on the other diagonal into 4 triangles each square.

Then it was play with layout which was great fun! 

Because of the way I had cut up the triangles I had a lot of bias edges so used lots of pins sewing the triangles back together again!  Next time if I was to do this I would use starch as well as I did get a bit of bowing in the blocks.  Each of the 4 blocks I put back together came in at just over 8" so I trimmed to 8" square to make the final block.


I managed to get an hour glass shape and a wonky x shape out of the triangles and when turned on point I quite like this block.  I'm calling it Bow Ties!


So this on the way to Karen, I hope she likes it and I'm looking forward to seeing what my hive mates do with this, this month on the Flickr group!

Linking up to

Sew Fresh QuiltsWIP Wednesday at Freshly Pieced
My Quilt Infatuation

Monday, 6 October 2014

Bee Blocks September Catch up

The design wall hasn't changed at all this week as I've been busy catching up on Bee Blocks!

This year I accidentally found myself in 3 Bee's and while it's been a bit tough to keep up these last 2 months I've managed to get them done on time except for September, made a few days late.  

They are done now and will be in the post tomorrow!  Global scrap Bee ended in September and I will do a separate post on that one (was a great Bee to be a part of and sorry to see it end but relived to have only 2 Bee's on the go now!)

I'm in Stash Bee Hive #10 and sign ups are opening this month, I think on the 9th if anyone hasn't been in a Bee before and wants to try it!

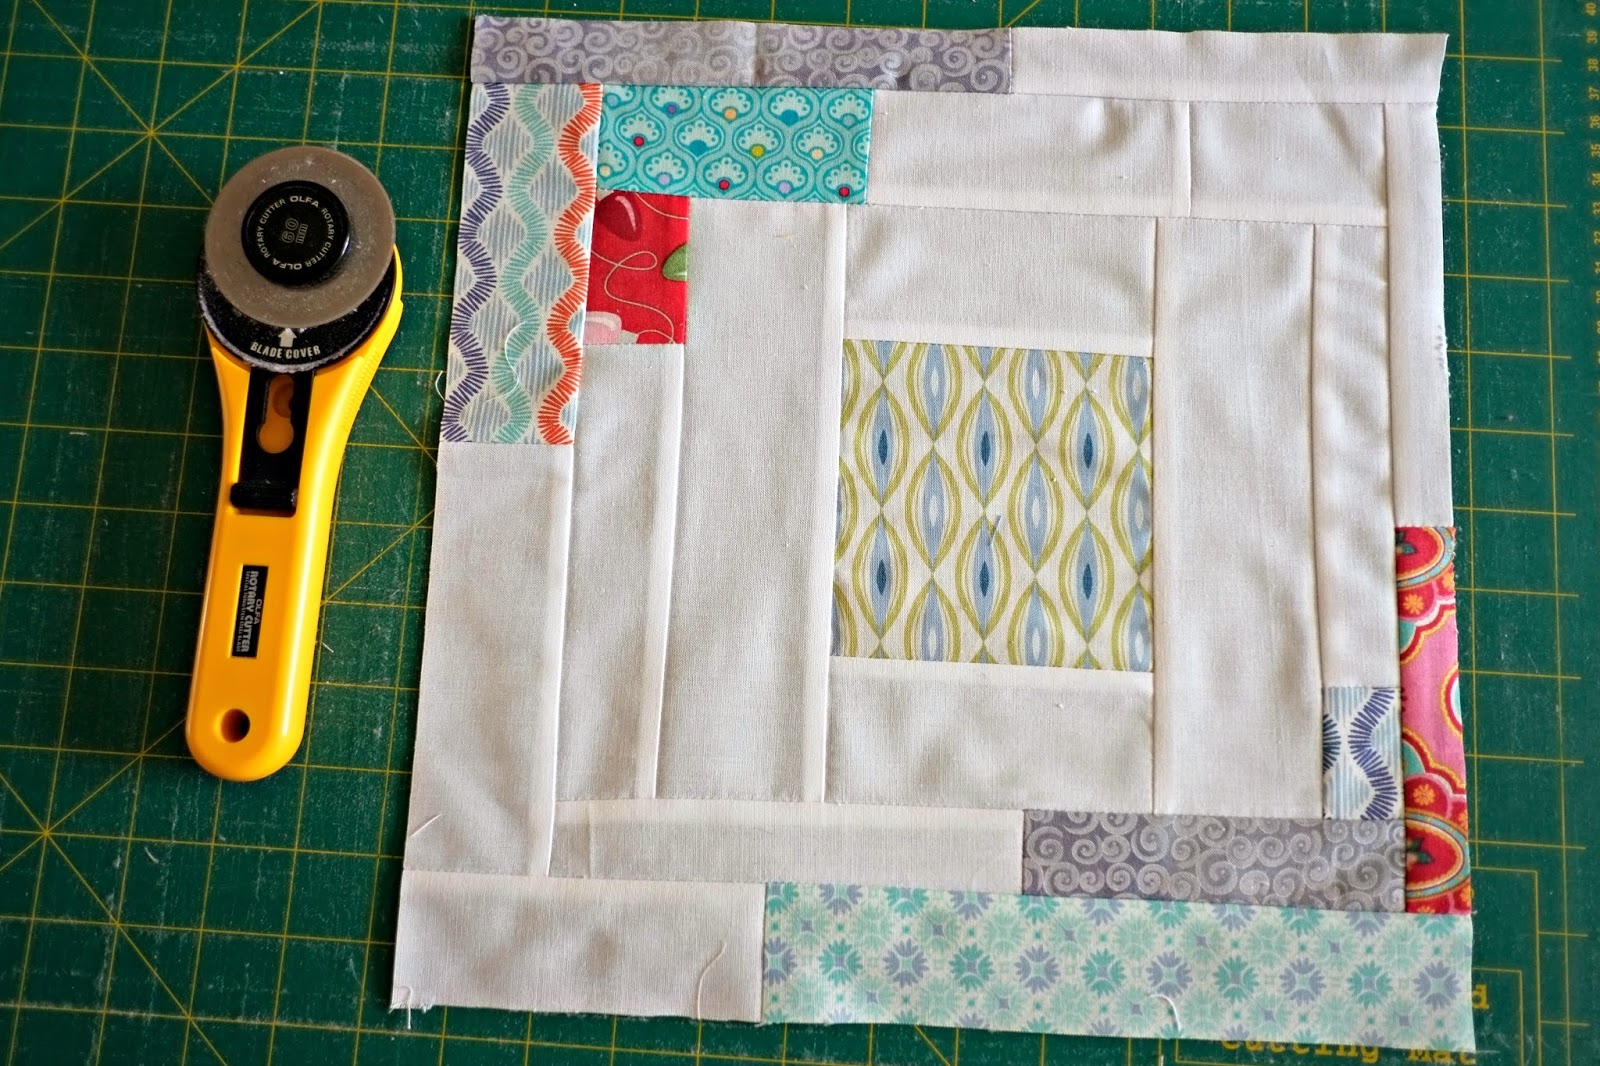
Caroline from Lalinsocal chose a scrappy strip block requiring 16 different fabrics in any one colour and 16 different low volume prints.  This was a bit tricky.  My stash looks quite like this bundle above (all the new stuff I've bought recently!)   I have a good mixture of prints and solids in bright colours and I try to buy for projects I want to make or prints I just can't resist.  I have some blenders but not multiples of the same colour, so it took me a while to pull this together. 
 
Caroline kindly offered low volume from her stash if anyone got stuck but luckily I have quite a bit of that after joining the Westwood Acres Inside Voices Club.  You get 10 fat quarters a month and I've been sharing my bundle with my fellow Just Threads (Thursday sewing group) member Louise.  Finally I managed to come up with this selection of blues. It had to be blue really didn't it!


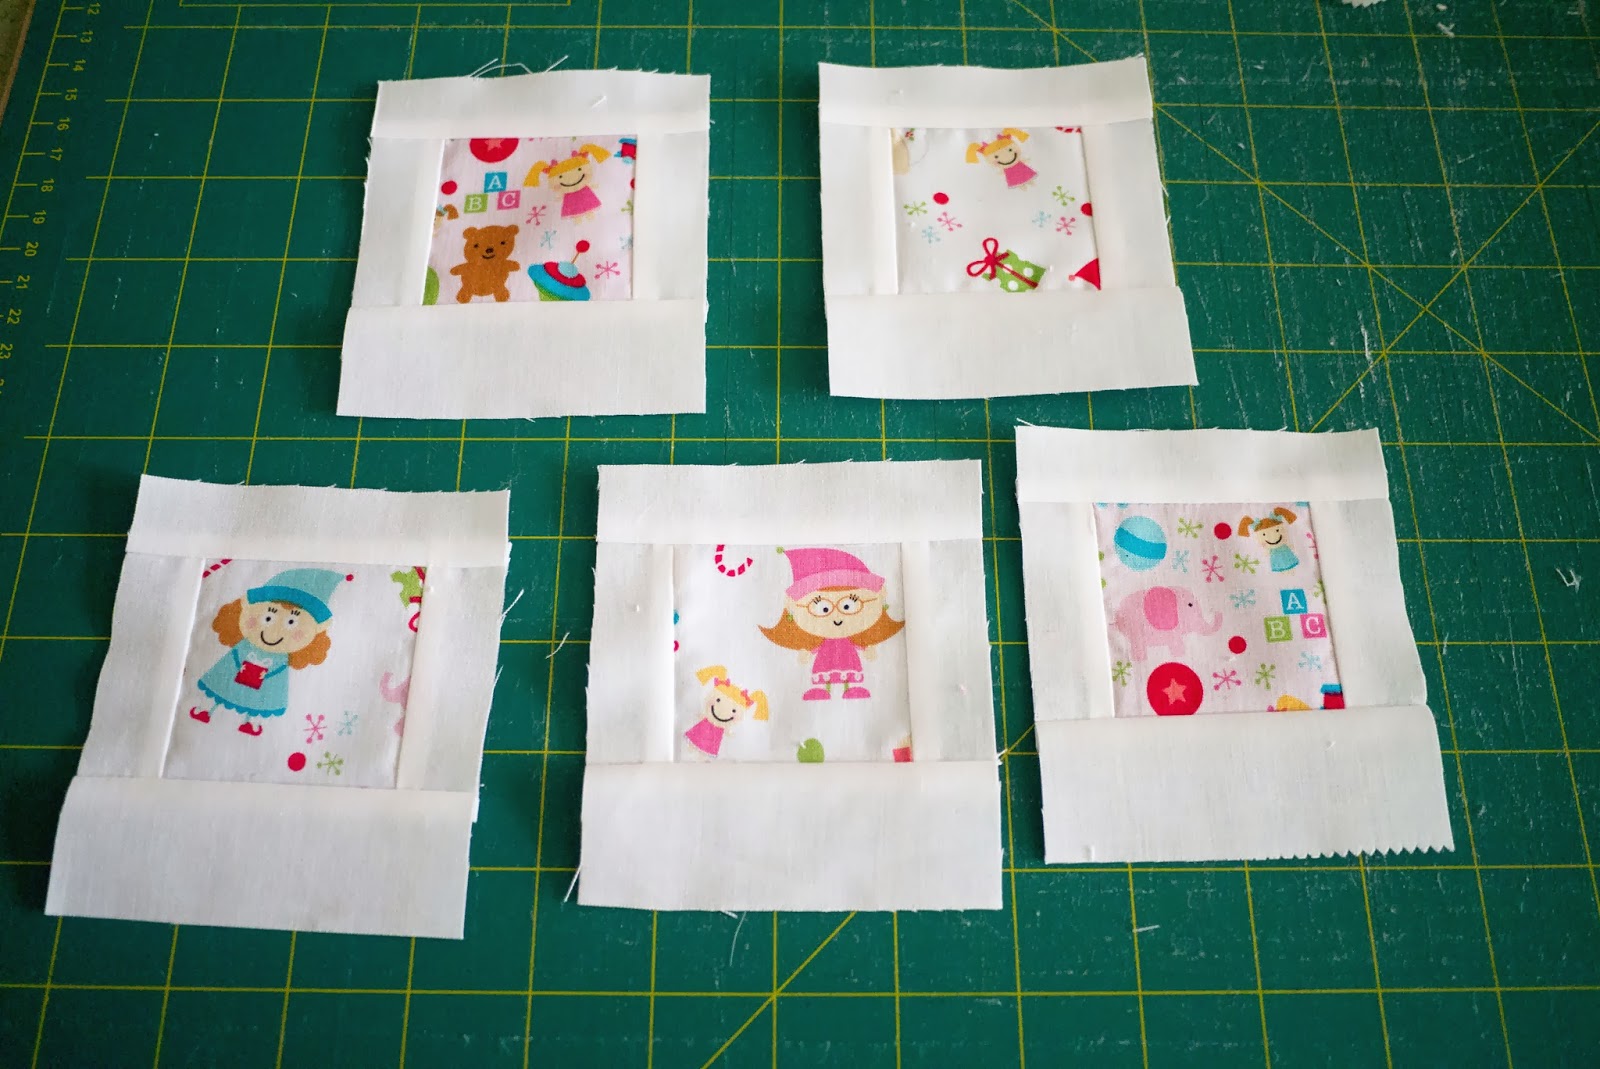
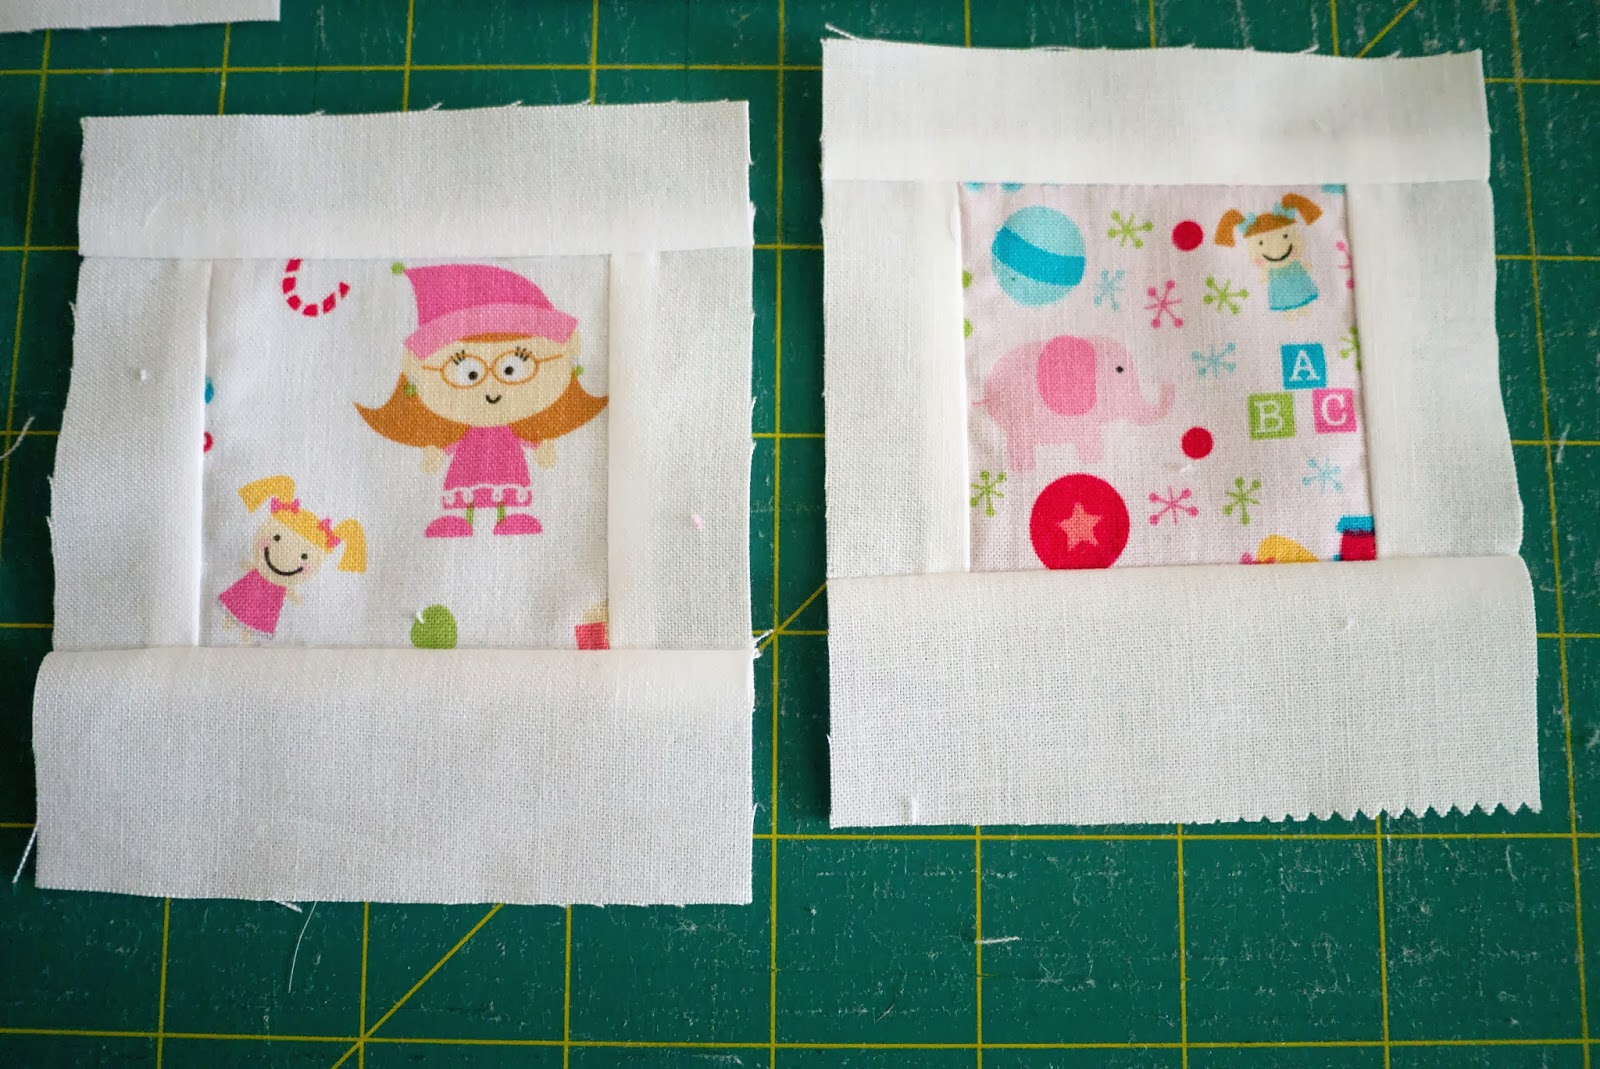
Helen from Midget Gem Quilts, on the other hand asked for bright, happy, fun slashed blocks for our Modern Irish Bee.  The more contrasting the better.  This I had no problem finding fabrics for!

Super fast and easy to make, there is something very satisfying in making a slice and inserting a mad contrasting colour.  This will be a fun quilt top with lots of space for quilting.

We made a small 4" square for our signatures in addition to the 10.5" ones for the quilt.  A lovely way to add all the hive members to the quilt label!

Feels good to be catching up!  Linking up to Design Wall Monday and
stitch by stitch
Related Posts Plugin for WordPress, Blogger...