Julie @
Pink Doxies and Mayrse @
Mayrse Makes Things are running a game of tag where each person shows their sewing space and tells us a little bit about it. I’ve been tagged for this week to share my space with you and tell you what I like, don’t like, what works, doesn’t work and some of the ways I work around sewing from the kitchen table!
Given that there are only myself, G and the 2 furballs you would think I would have lots of space to sew. Truth is both G and I are book lovers, have too many hobbies and tend to hoard a bit.

Charly is also a hoarder – all the toys are hers and she loves to keep them close.

Poor Wilbur gets them only when the squeaker is dead! Luckily enough if its not edible he's really not that bothered.
When we moved into our house 8-9 years ago I didn’t sew. I know, can you believe it? I had no idea how to use a sewing machine and back then my only hobby was photography. We needed a room for all our books, somewhere I could practice playing with lighting and G likes to take apart computers and always has little screws and small bits around the place, so that wonderful room I envisioned turned into G’s man cave and after all this time, I can’t seem to shift him out of it! So when I got my first sewing machine, a LIDL Lervia for 69 euro I set up at the kitchen table. Seemed like the natural thing to do and somehow, I've stayed put and this space has evolved around me!
My photos of Rome and Venice are hidden behind notions and thread. (That's my Technicolour Galaxy fabric pull waiting for me - I am getting to it soon I promise!)

I picked up some jam jars in a household shop near us and have them filled with jelly rolls and perle cotton. I have noticed though that it's always the one at the bottom of the jar you want!
Last year at the Knitting & Stitching show in Dublin I picked up a wooden ruler stand and I love how this holds all my standard and speciality rulers. I bought a Hex n'more and a Quick Curve ruler to play with over the summer, in addition to my favourites.
Fair warning, this may turn into a giant Ikea advert as I have a few things from there that I love and would buy again!
I got these picture rails from Ikea in 2 different sizes and even though they normally show photos from our holidays I do hang blocks or quilt tops from the top rail when my design wall is full or has something tricky I don't want to take back down again. That's why the pegs are there!
Even this is getting invaded by sewing notions.
After seeing my hoop post on
MQI blog, Claire asked me to do a
demonstration of Hoop Art at our branch of the IPS (Irish Patchwork
Society), so I made a hoop organiser from an old log cabin block to go with my scrap busting balloon.
Looking for the perfect space on the wall to hang them now!
Now my next Ikea purchase is very special to me. I had my eye on this for ages and finally had the chance to go to the Dublin store to pick one up for my birthday last year. It's a kitchen trolley that reminds me of a 1950's hair salon but I've seen it used everywhere from kitchens to bathrooms. I love mine to bits and it holds the bulk of my stash. I think I may have overcrowded it just a bit!
I have a bolt of Ikea Britten Nummer to keep it company as well as a bolt each of Kona Snow and White from
Slaney Handcraft. So handy to have on hand and I am working my way through them!


Seriously, every house should have an Ikea trolley!
Propped up on top is a craft tote bag I got in Hobby Lobby for 7 dollars when I was last in the states. I carried it home with me on the plane as hand luggage!

Suzanne made me the donkey wallet where I keep my hand sewing needles and I keep some of my perle and embroidery thread in this cigar case. My dad was one of those cigar smokers that lit the cigar and then kind of didn't smoke it so it kept going out! When he passed mum found a few boxes of cigars that she gave away but I kept this empty one for my threads. It balances perfectly on top of the trolley and makes me smile when I look at it.

The trolley itself lives here by the sideboard (which I hope to spray paint Navy!) and I can wheel it around when I want to rummage for something! Under the dog bed (was Charly's but Wilbur has stolen it and seems to be keeping it) is a small stash of backing fabric and blocks for projects not yet finished.
Now our long kitchen space was a bit of a bowling alley and my mum didn't like that. So when G and I were on holidays in Corfu a few years ago and mum was dog sitting she had my uncle build a divider between the tiled kitchen area and the wooden floor of the dining area. Luckily my uncle is sane and rang us first before construction commenced. I trust my uncle's taste - not so much my mum's! So we said go ahead and kept our fingers crossed for the rest of the holiday.


Turned out great and gives me more storage space for thread and larger cuts of fabric!
The year after she re-arranged the china and cutlery and we've left it her way!
The arch holds the TV which I like to watch when sewing. On the other side is my design wall built by same brilliant uncle! Thank you Tony!
I move the ironing table around but always have it so I have to get up from the table - I have a bad back and have to remember to take breaks!
Are you still with me? Sorry this has turned into a mammoth post but I'm nearly done! At the end of the room by the window is another Ikea purchase. I bought this Galant desk in the smaller size as it has adjustable feet and I thought I’d use it as a cutting station. I am quite short (5ft!) and the kitchen counter is too high and the table just a tad too low for comfortable cutting. For some reason though it has turned into my sketching, planning, designing and place to put stuff table instead.
Underneath are clear plastic shoe boxes that hold my scraps and speciality fabrics. The plastic tubs and tote bag contain knitting yarn, mostly Debbie Bliss cashmerino! My small Pfaff passport sewing machine is buried under the wadding. R2 was a swap resent from @Shevvyrox on IG. Brilliant swap partner (will write more about that soon!)
When we moved into our house we found the previous occupants had left us a Dyson hoover (Thank you!) and a crib (?). I thought the sides of the crib would be a handy dog barrier so kept them and binned the base and wonky sprung bottom. This worked for a while. Ben and Charly were suitably contained in one end of the kitchen when the need arose. Wilbur on the other hand figured out, in about 10 seconds flat, that if he stuck his nose in between the bars of one of the barriers, he could push it left so it didn't overlap and gave him a gap he could squeeze through. Did I mention Wilbur is highly motivated by food? G and I just looked at each other and went oh oh. Haven't figured a way to contain him yet!
Now instead of a dog barrier I use it to hold finished flimsies or quilt tops. Strangely I have been able to ignore these building up until now. That Charm Pack Cherry one is a year old!
The dresser is a piece I inherited from a shop mum managed for cough! 40 years cough! (Mum hates being reminded of the passage of time!) I thought it would be the perfect place for fabric but it gets full sun and everything fades so quickly!

Poor Harry Potter has seen more vibrant days!
Defintiely not a place to store beautiful colourful fabric!
So this is my sewing space all set up most days!
And when I need to I can turn the machine and put a cover on and make some room at the table. This is my new sewing machine! I'll be sharing more about this soon and why I needed to upgrade from my Husqvarna!
Having to move stuff when we want to sit down to dinner was always doable but a bit of pain plus if anyone dropped in for a cuppa I'd have to move my stuff and leave them sitting at the end of the room while I waited for the kettle to boil.
So the first purchase we made was a small table to put at the top of room. I've been having fun with Valspar spray paint. The table works for breakfast and the casual cup of coffee. When we have a crowd to dinner I can put this with my sewing table and sit 12! Just being able to keep my stuff out and about as I work on it was worth having this table alone!
Even though there is a spare room upstairs we both like to be downstairs as it feels a bit more sociable plus I like to be near the kettle for a cuppa. Truth be told I am a bit too near the kettle as the cuppa always seems to go so much better with a digestive biscuit dipped in my tea from time to time!
I still do my photo sorting, processing and printing on my ancient Macbook in my section of the man cave though, not giving up on that space entirely yet! I rotate my Schnitzel & Boo mini quilt swaps in here for decoration!
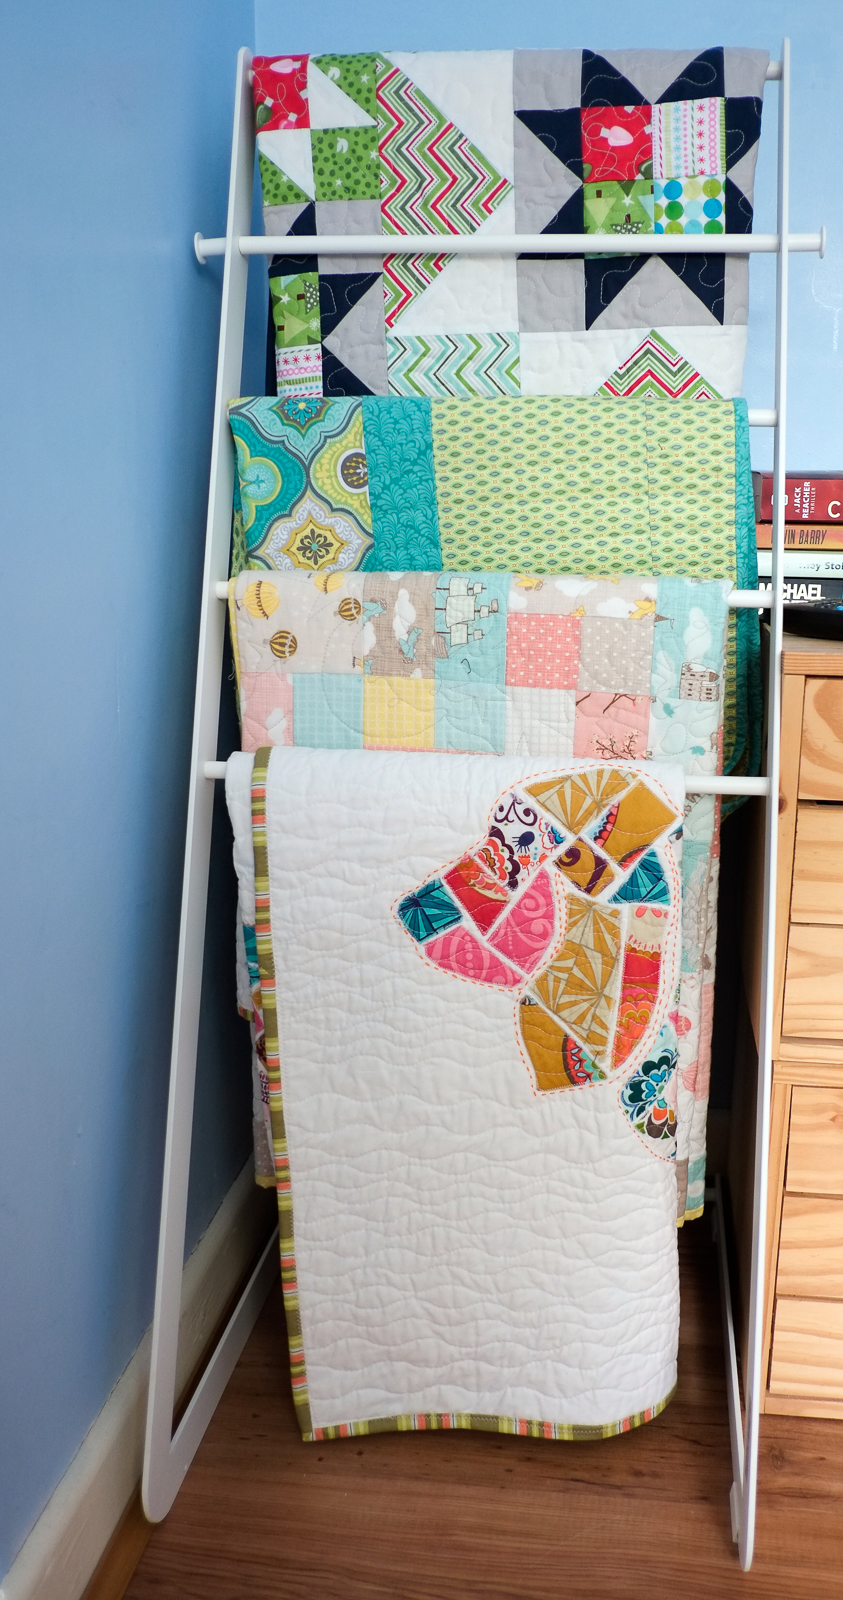
And lastly while I'm showing Ikea purchases, this bathroom towel rail is perfect for showing off smaller quilts and not really having anywhere in the kitchen yet for this, it's brightening up the spare bedroom mum uses when she stays over.
Night sky will be heading to the states soon so I will need to get cracking finishing some of those flimsies to fill this one up!
If you have managed to stick with me all the way to the end of this post, a big thank you is sent your way!
This turned into a bigger, probably too many photos post but I've enjoyed writing it. Thank you letting me indulge and I hope you liked my tour.
I'm tagging Gayle @
Pedal Sew Lightly. Please pop over there and visit a bit! If you want more sewing room eye candy Julie has more on
her blog here!
Now go on check out the Ikea website, you know you want to!