Ever taken a photograph like this? On a sunny day where there are bright spots and dark shadows in your photo, you get a big contrast between light and dark.
Remember in this
previous post, we said
areas of greatest contrast draw the eye. In this image, the eye bounces all over the place and has no where to rest. This is a problem of too much contrast. The answer to this one, is to wait for a cloud, look for even, open shade (stand the subject all the way under a tree) or wait for a later time of day to take the photo.
I posted this when I was finally finished this quilt top. I was so happy to be finished, I didn't worry about the photo at all! So I'm as guilty as the next person!
Sometimes though when you are on holidays, and out and about, and can't move the subject into better light what do you do?

In these photos with a wide range of tonal contrast, (difference from lightest to darkest parts of the image), the camera sensor will find it tricky to expose the scene.
In this first image, the boats are well exposed, we have a nice sun flare effect but the sky in the distance is blown out to white. There is no detail recorded here so there is nothing for us to work with. The camera exposed for the boats and sacrificed the sky.
In the second photo, taken in the Venetian hotel in Las Vegas the sky has been recorded and the foreground is now too dark.
Our eyes are amazing at adapting to differences in light, but camera sensors as well designed as they are, can only record a portion of what we can see in terms of tonal contrast.
As we saw when looking at camera noise, different sensors will have a different range of light to dark that they can record. This is called
Dynamic range. A good camera sensor will pick up 10-14 stops of light. As with noise minimisation, the bigger the sensor, the more modern the camera, the better the dynamic range. There are things you can do when faced with tricky lighting like this to maximise your chances of getting a good image.
Some
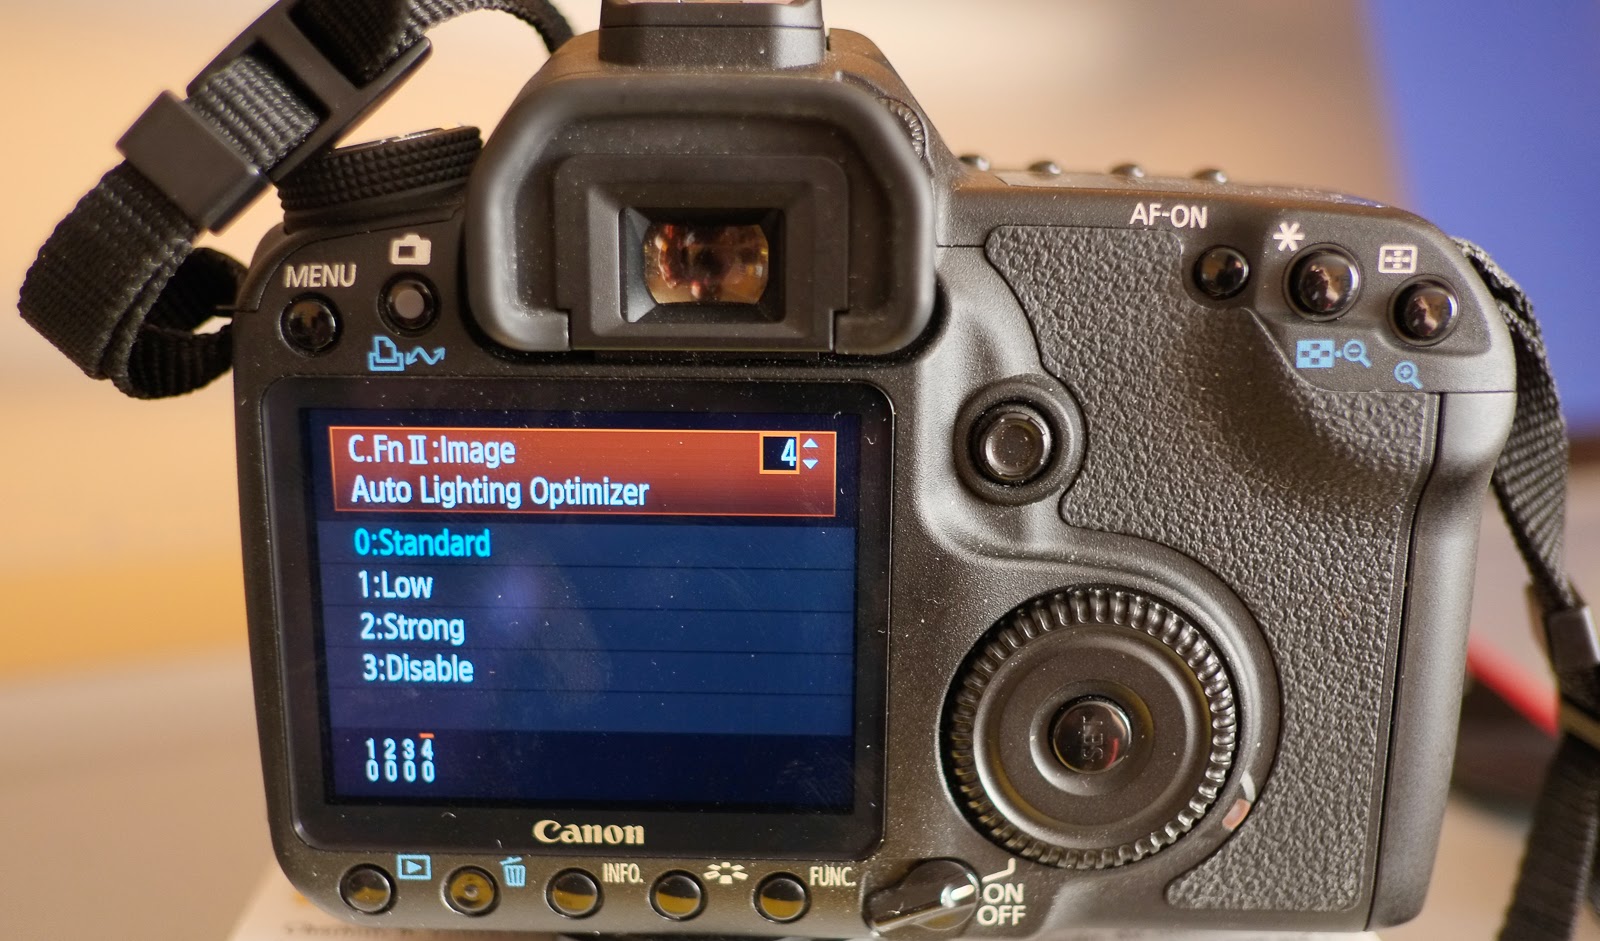
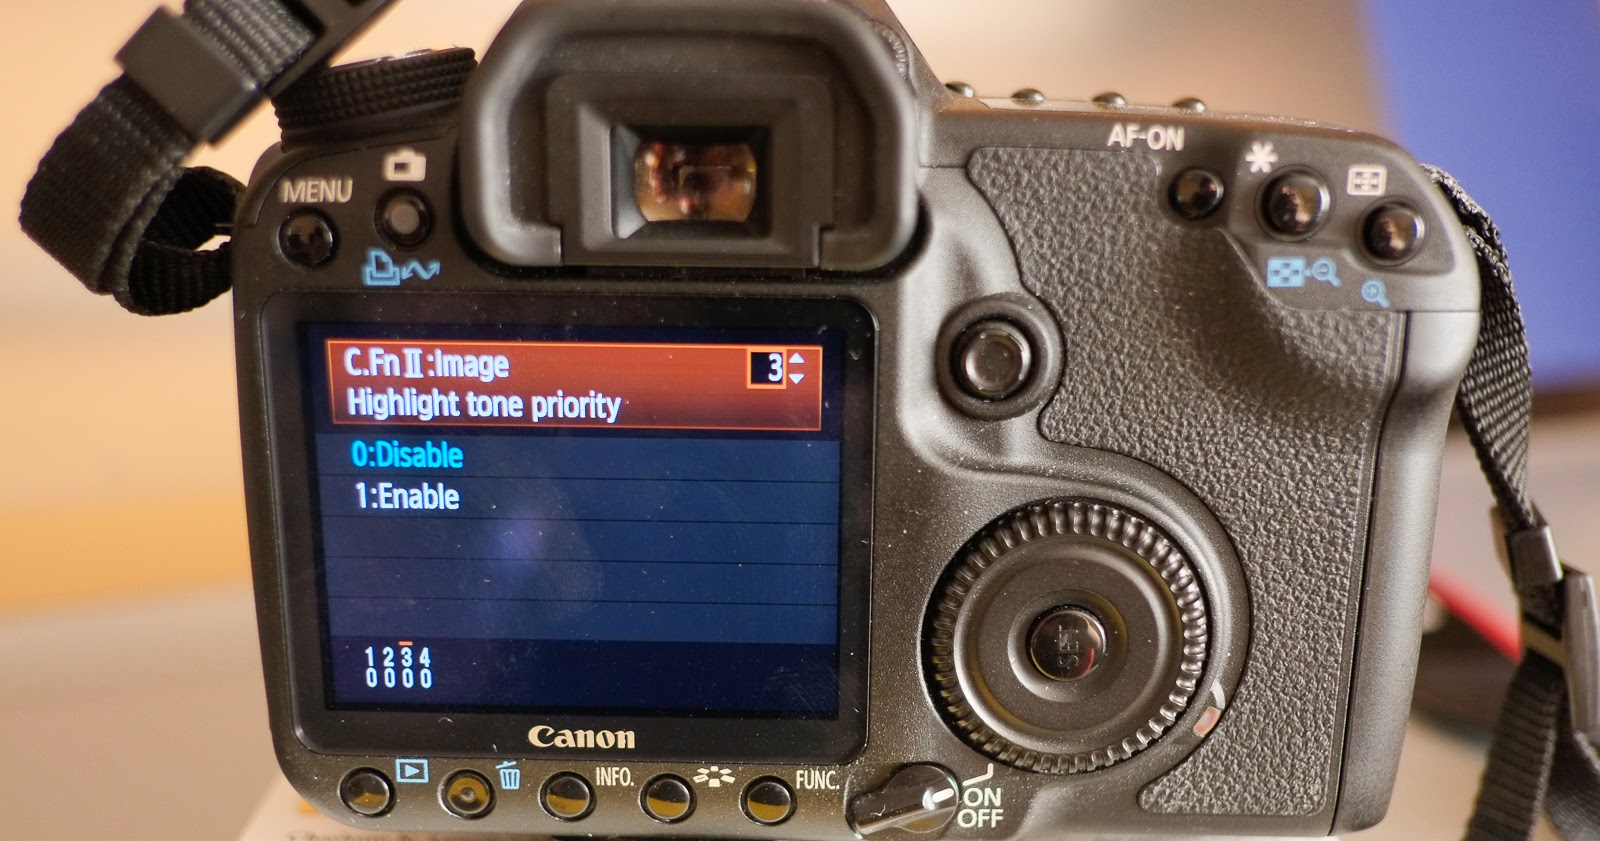
cameras have custom features that you can enable. Nikon has a custom function called active D lighting that you can turn on in in the menus. Fuji makes it easy and calls their custom function Dynamic Range. Canon has Auto Lighting Optimiser (ALO). This preserves shadow detail in high contrast scenes and tries to even out the image to improve the look. If you want to preserve highlight detail, Canon has a custom function called Highlight Tone Priority (HTP) which sacrifices the shadows by 1 stop and preserves highlights (wedding photographers love this for shooting the bride). Just remember to turn it off again when you don't need it, as you will get increased noise in the shadows.
Shooting using
RAW rather than JPEG will gain you an extra two stops of dynamic range. We saw in an
earlier post that processing in Camera RAW can help recover some of the highlight information. If you are shooting JPEG's and blow out your highlights you can't get this information back! There are times though when shooting RAW still won't be enough! For those times, or if you don't have RAW available to you on your camera, you can try the following:

Crop out the sky or change the angle,
remove the lightsource. The lightsource will usually be the brightest part of the image (sometimes reflective surfaces will give a really bright highlight). By pulling the curtains here in the Caravan at the West Coast of Ireland, even though they are patterned!, they keep the bright light from outside dominating the shot and allow a nice exposure of the main subjects (I'm on the far right!).

Taking
interior shots with a view to outside is always a tricky dynamic range shot, as is
very bright skies on a sunny day. If you can't crop out the sky in your image, you can use a
graduated neutral density filter. A Neutral Density filter will allow some light to pass through without changing its colour. (Coloured filters are available too that are in full and graduated versions to give you bluer skies or sunset effects with a tobacco/orange colour!) A graduated neutral density filter is grey on top and clear on the bottom. Place the transition at the horizon and the sky will darken and the foreground will remain unaffected.
Lightroom has a graduated filter adjustment that you can paint on by hitting the M key or clicking in the rectangular box in the adjustment panel in the develop module. You can pull your filter down and vary the angle you want to use and then adjust the exposure to make the sky darker or brighter.
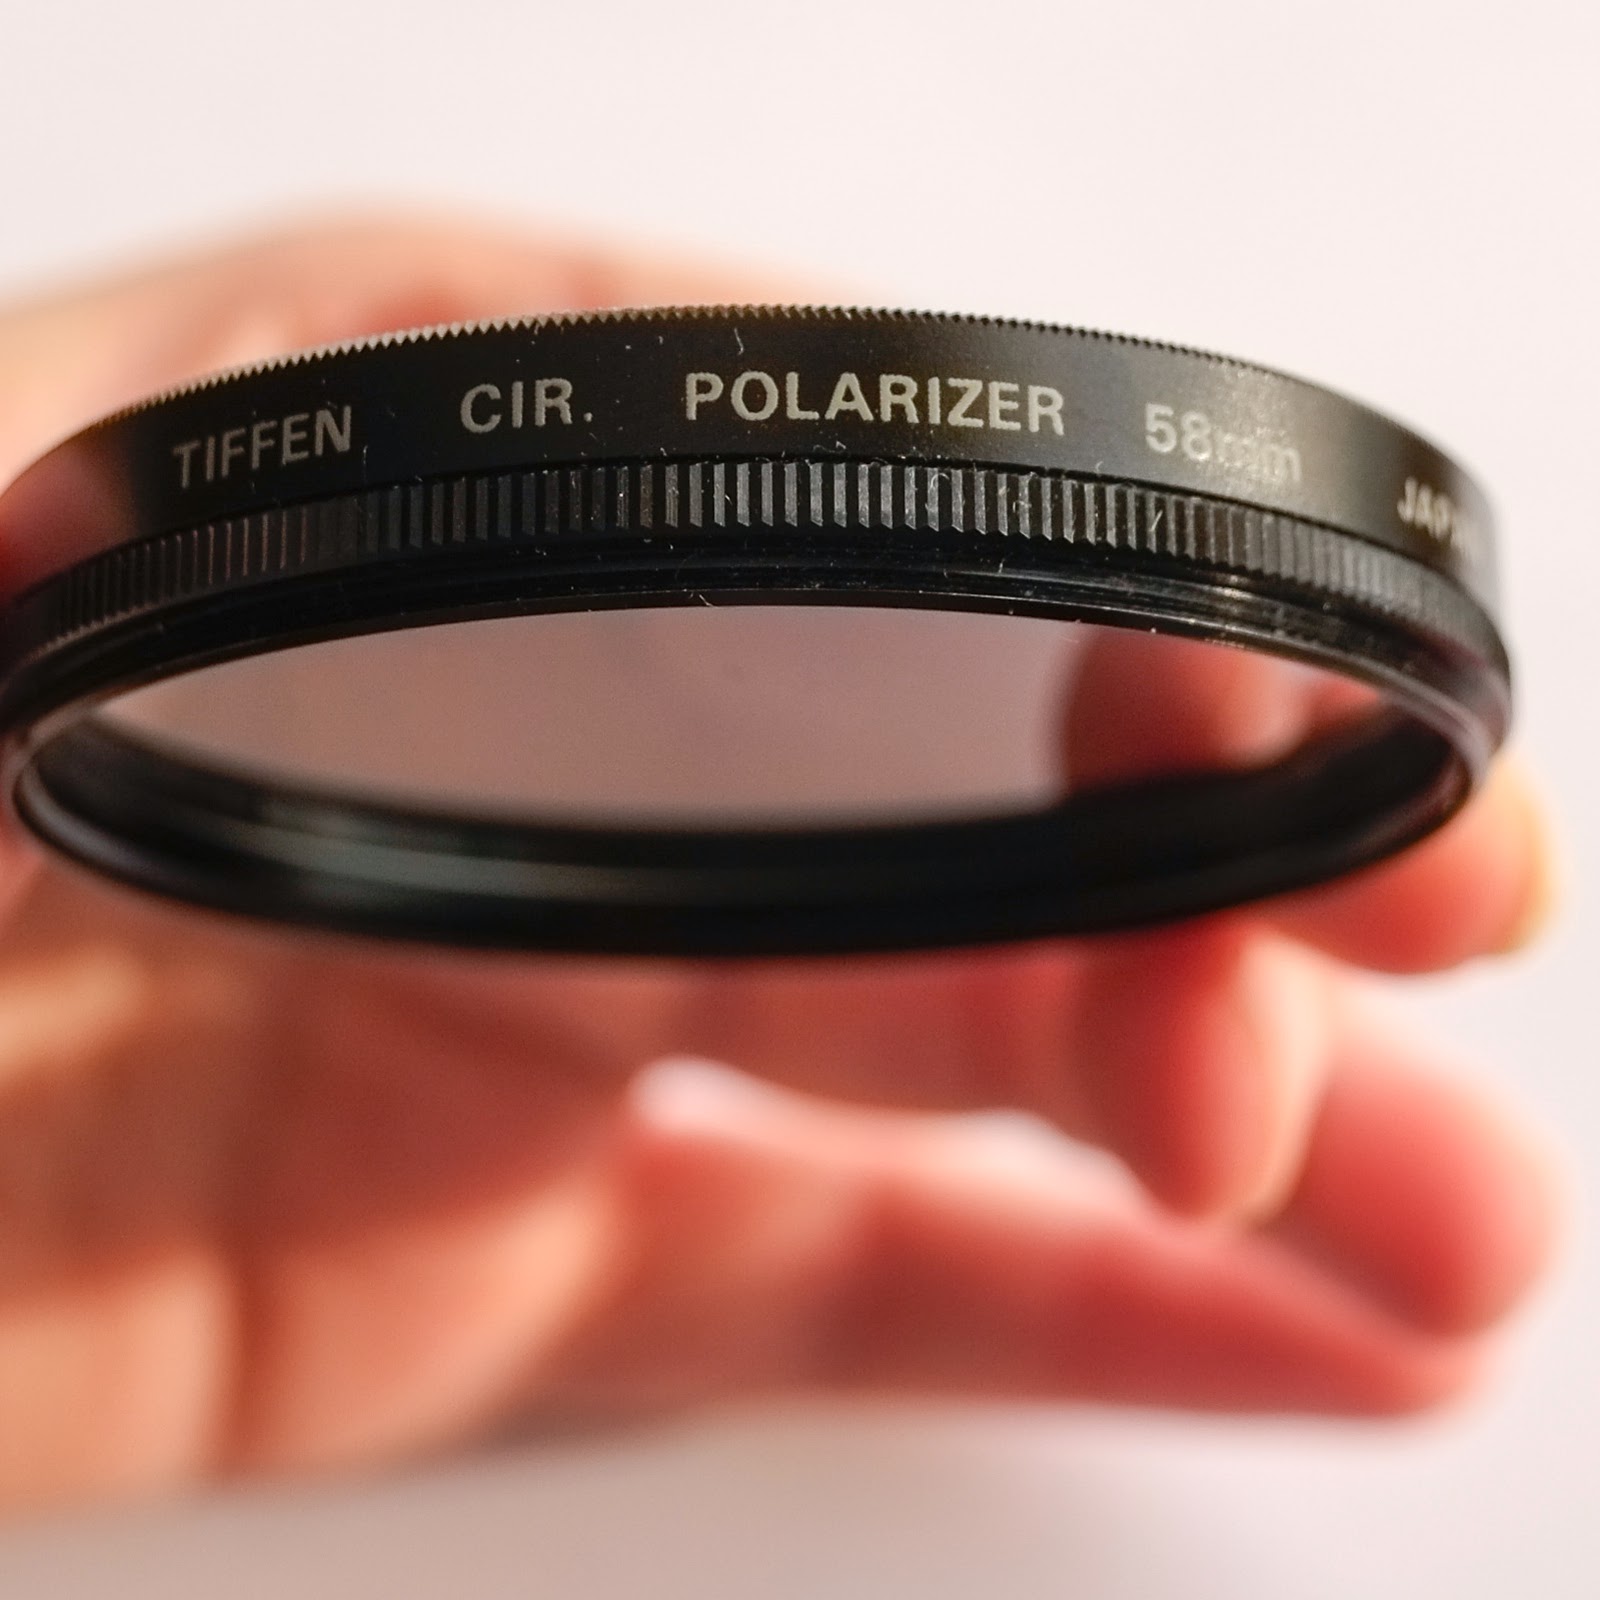
Another useful filter to have to cut out reflections and give you clear blue skies, is a
Polarising filter. A Polarising Filter will cut down on the amount of light entering the camera (usually 2 stops) and the camera will adjust to use a slower shutter speed or increased aperture but the effect on your image is very important. It will reduce the effect of glare off non-metallic reflective surfaces like light on water and can help make blue skies more blue by increasing saturation. A circular polariser is used with auto-focus cameras and you turn the filter until you get the effect you want.
(If you have too much light in general an adjustable neutral density filter available from -1 stop to -10 stops can be used. Landscape Photographers love this as it allows them to use a slow shutter speed to blur water even in bright sunshine. See
Lee's website for examples of filters in action).
Adding light can help lift shadows and reduce the difference between dark and light. You often see film crews lighting up a scene in broad daylight. Adding light with flash is very useful for those interior shots we mentioned above as it helps balance the light inside with outside. It is also very useful for
backlit subjects when you don't want to capture the subject as a silhouette.
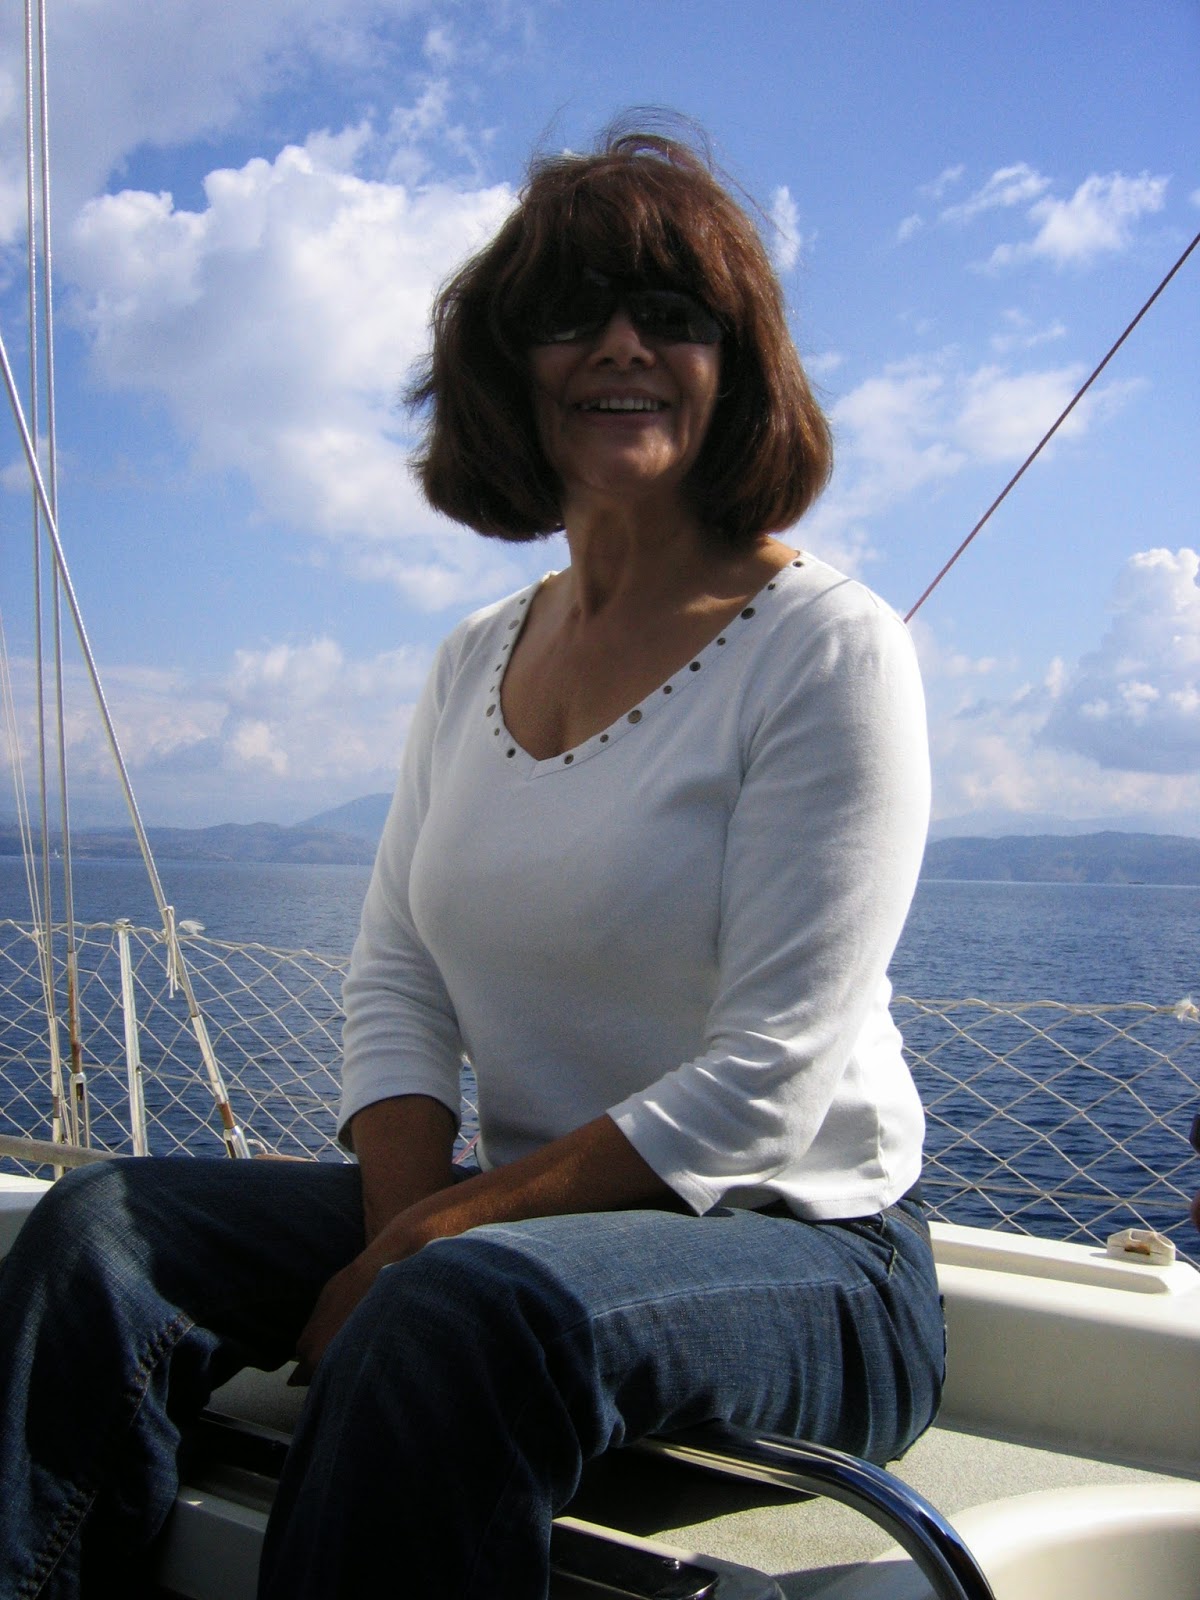
Gordon's mum Ann is backlit here by the light coming in from the right. This was a snapshot taken on a boat in Corfu and when taking sneaky candid shots you can't ask the subject to turn into the light nor is there that much room on a boat to move around and not get in someones way!

Ann's face is quite dark and even though it is a bright sunny day the easiest way to handle this is to add light.
Fill flash is often used by portrait photographers to lift the shadows around the eyes and to brighten up the face. A reflector would be a good option here but chances of having a reflector on hand when you are on holiday are slim! Turning on the flash even in bright sunshine and adding some fill light makes a difference! Lightroom simulates this using the shadows slider and moving it to the right.
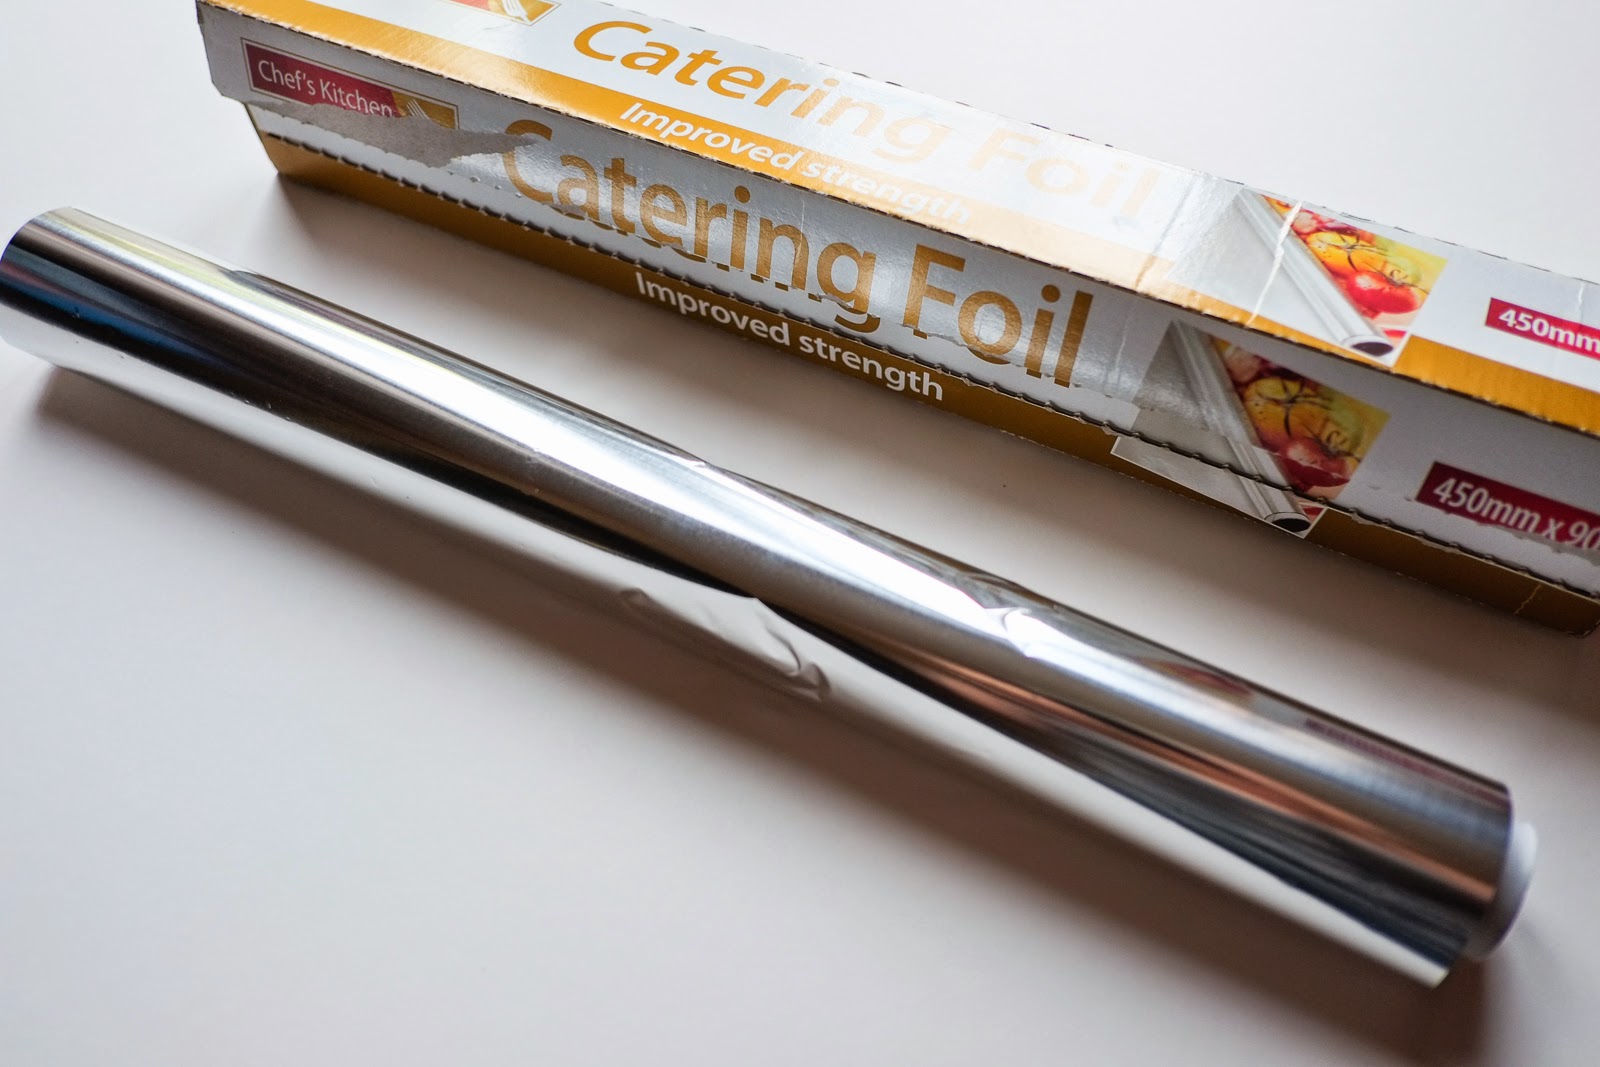
A very common lighting set up is to use the directional light from a large window to light up your subject and then bounce some light back to reduce the shadows. A piece of white cardboard can work really well as a
reflector or wrap the cardboard in reflective tin foil or cooking foil to bounce even more light in.
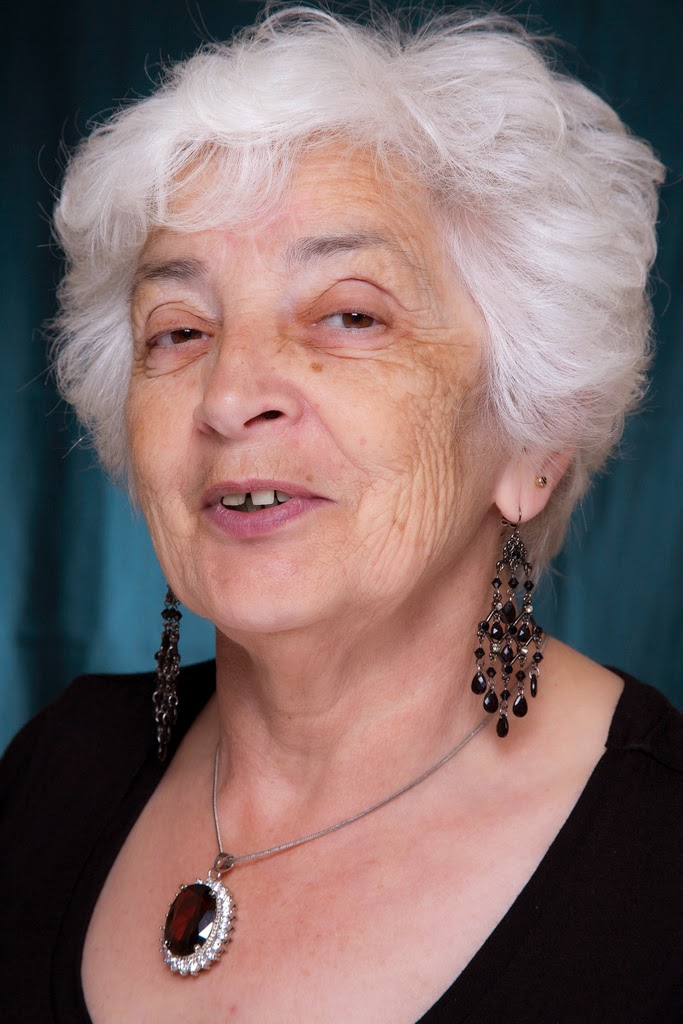
In this photo of my mum I used a golden reflector to bounce light back up into her face and keep the image warm.
Lastly if all else fails you can bracket your shots by taking
multiple exposures and combining them later in software. Some high end cameras will even do this for you in camera. You can combine one exposure for foreground and one for sky or you can take multiple exposures at different exposure compensation amounts, usually -2, -1, 0, +1, +2. These are then combined in software for processing to a final image. A tripod is an essential tool when doing this to hold the camera in the same position for all 5 exposures. Combining multiple exposures like this is called
High Dynamic Range (HDR) photography.
There is specialist software available for this outside of Photoshop.
Photomatix is very popular and one of the links, I provided last week for Photoshop plug ins, was Nik Software. They have a program with presets called
HDR Efex Pro. You can go really mad with this and end up with an image from outerspace or go realistic and end up with a more natural effect. It is a versatile technique that can get you the look you want in challenging high contrast light.
So that's it for this series of Photo Friday. Thanks for sticking with me and I hope you find these techniques and tips useful in your craft and everyday photography!