Showing posts with label Wilbur. Show all posts

Thursday, 17 August 2017

Happy Sad!

It was a happy sad week last week and I'm only starting to come around to myself again this week now.  We had the awfulness of sending Wilbur to sleep and then I left straight away, for the Festival of Quilts in Birmingham, with friends from the Irish Patchwork Society.

A tired looking me posing in front of The Rainbow Rose I designed for the MQI group QAL and quilted by the amazing Tomomi McElwee @ Slaney Handcraft.  We submitted it as a 2 person quilt and it was chosen to represent Ireland in the European Quilt Association gallery called Diversity.
Not having a goods nights sleep since the Thursday before, I was not really in the form for a road trip but I wasn't going to let anyone down and stay home feeling sorry for myself.  Gordon had the week off and stayed around the house spending time with Maggie and Charly, so I didn't have to worry about the two furballs and them missing Wilbur. I knew they'd be distracted by having one of their humans around all the time.   The trip was worth it and I would have enjoyed it better if it had been any other week.  I took over 200 photos and bought some interesting bits and pieces and will share them with you in the next post!


For now, I thought I'd show you some of the process of blocking this quilt and the amazing quilting that Tomomi did for it.  There was quite a bit of preparation involved getting this quilt ready for exhibition.  First I had to wash it, as the blue water erasable marker didn't come out of all the white with just spritzing.  I wasn't going to put this gorgeous thing into the washing machine with out cleaning the machine first, so 2 bottles of Dettol washine machine cleaner and 2 rinse cycles later, I cleaned out the rubber seal on the door and found coins, hair pins, SD and usb sticks!  Then I took a deep breath and popped it into a cold wash with 6-7 colour catchers.


With all the strong colour in this I had a suspicion the red would run but it didn't.  The only thing the colour catcher picked up was the green from the extra wide backing fabric.  That surprised me as I was not expecting that to run at all!  Still the quilt itself was perfect so onto the blocking step!


As we don't have carpets in our house (only on the hall stairs!), I needed something to be able to pin the quilt to, to stretch it out while wet.  I bought 4 packs of these kids playmats from Argos, moved all the furniture and set to smoothing the quilt out and pining every 2 inches or so, all around the quilt, with sturdy glass head pins.  I used a ruler to measure out from one of the seams all the way around with the same measurement to make sure I got the star square and pinned in place.


It took over 2 days to dry and the green blues section was a bit puffy, so I got the steam iron out and hovered over those sections using steam to make them lie flat and a few extra pins, to get the seam straight on.  I think it worked quite well. It certainly made the trimming process that bit easier having a flat straight quilt!


The only thing that was a bother was this room could not be used for the 2 1/2 days.  No dogs allowed and this is normally where they play and spend time with us in the evenings.  They were not impressed and wanted in!  Gordon also had to skip the TV as this is where the telly is.  He happily made do with 4 library books!

Hedgehog!
Being an animal lover Tomomi added in lots of Irish wildlife to the quilting and I love her to bits for it.  I told her to give it the Tomomi treatment with no help at all for quilting ideas and she certainly did that in spades and came up with so many beautiful motifs.  The quilting makes this quilt and is the reason it got chosen for Birmingham.  You have to look at the back to see the quilting properly and here are some of the animals found in the quilt.

Dolphin
Squirrel

Rabbit
Fox
And my favourite!  A Basset Hound that I thinks is the spitting image of our puppy Maggie.
It was hard at times last week being away.  There were times I wanted to just go home and times when I was completely distracted immersed in sewing talk and quilty inspiration.  A happy sad week!
 
Losing Wilbur was incredibly sad but happy that we had him for as long as did.  He was tons of fun and gave us many laugh out loud moments and many more quiet contented moments.  I found this photo of our holiday last year with us all walking the beach.  It makes me sad that we are all moving on without Wilbur but we are not leaving him behind.  Like me following on at the rear taking photos and letting him take his time, I'm carrying the happy memories with me.  And now I have Maggie in quilt form too!  So, so happy I didn't try and quilt this one myself and let Tomomi do her thing instead. So Happy Sad, but more happy than sad!  Can't ask for more than that.

Linking up with the Friday finishes!

Wednesday, 9 August 2017

Goodbye Wilbur!

Yesterday morning we had to say goodbye to Wilbur.  Crikey even writing those words is hard.

We knew this was coming as he was 11 yr 1month and epileptic.  The seizures we had been managing for the last 2 years finally got the better of us and over the weekend he went into a state of continuous seizure and emergency treatment at first seemed to stabilise him wasn't enough.

It's always hard saying goodbye to a dog and Wilbur was our second Basset and third dog we had to send on his way - there is no getting used to it and I now understand for the first time why people say never again.


It hurts and will hurt for a while but I would not trade the 4yrs 5months of his life that he spent with us since we rescued him from Ash Animal Rescue.


He had a big personality and was tons of fun and I'll miss him.


Pets on Quilts 2017So this year we are taking a break from pets on quilts which starts tomorrow over on Lilypad quilting. 

Wilbur always managed to steal the show and we had tons of fun making a special photo shoot with the dogs. It gave us some of my favourite photos of him. 

Please visit the other quilters celebrating their furry friends.


Goodbye pal, thanks for the slobber, the chewed up sofa, half eaten laundry, the thousands of cuddles,  warm welcomes and wagging tail, happy memories and lots of love.

Wednesday, 18 May 2016

Ticker Tape Basset Hound - Here's How I made Wilbur in fabric!


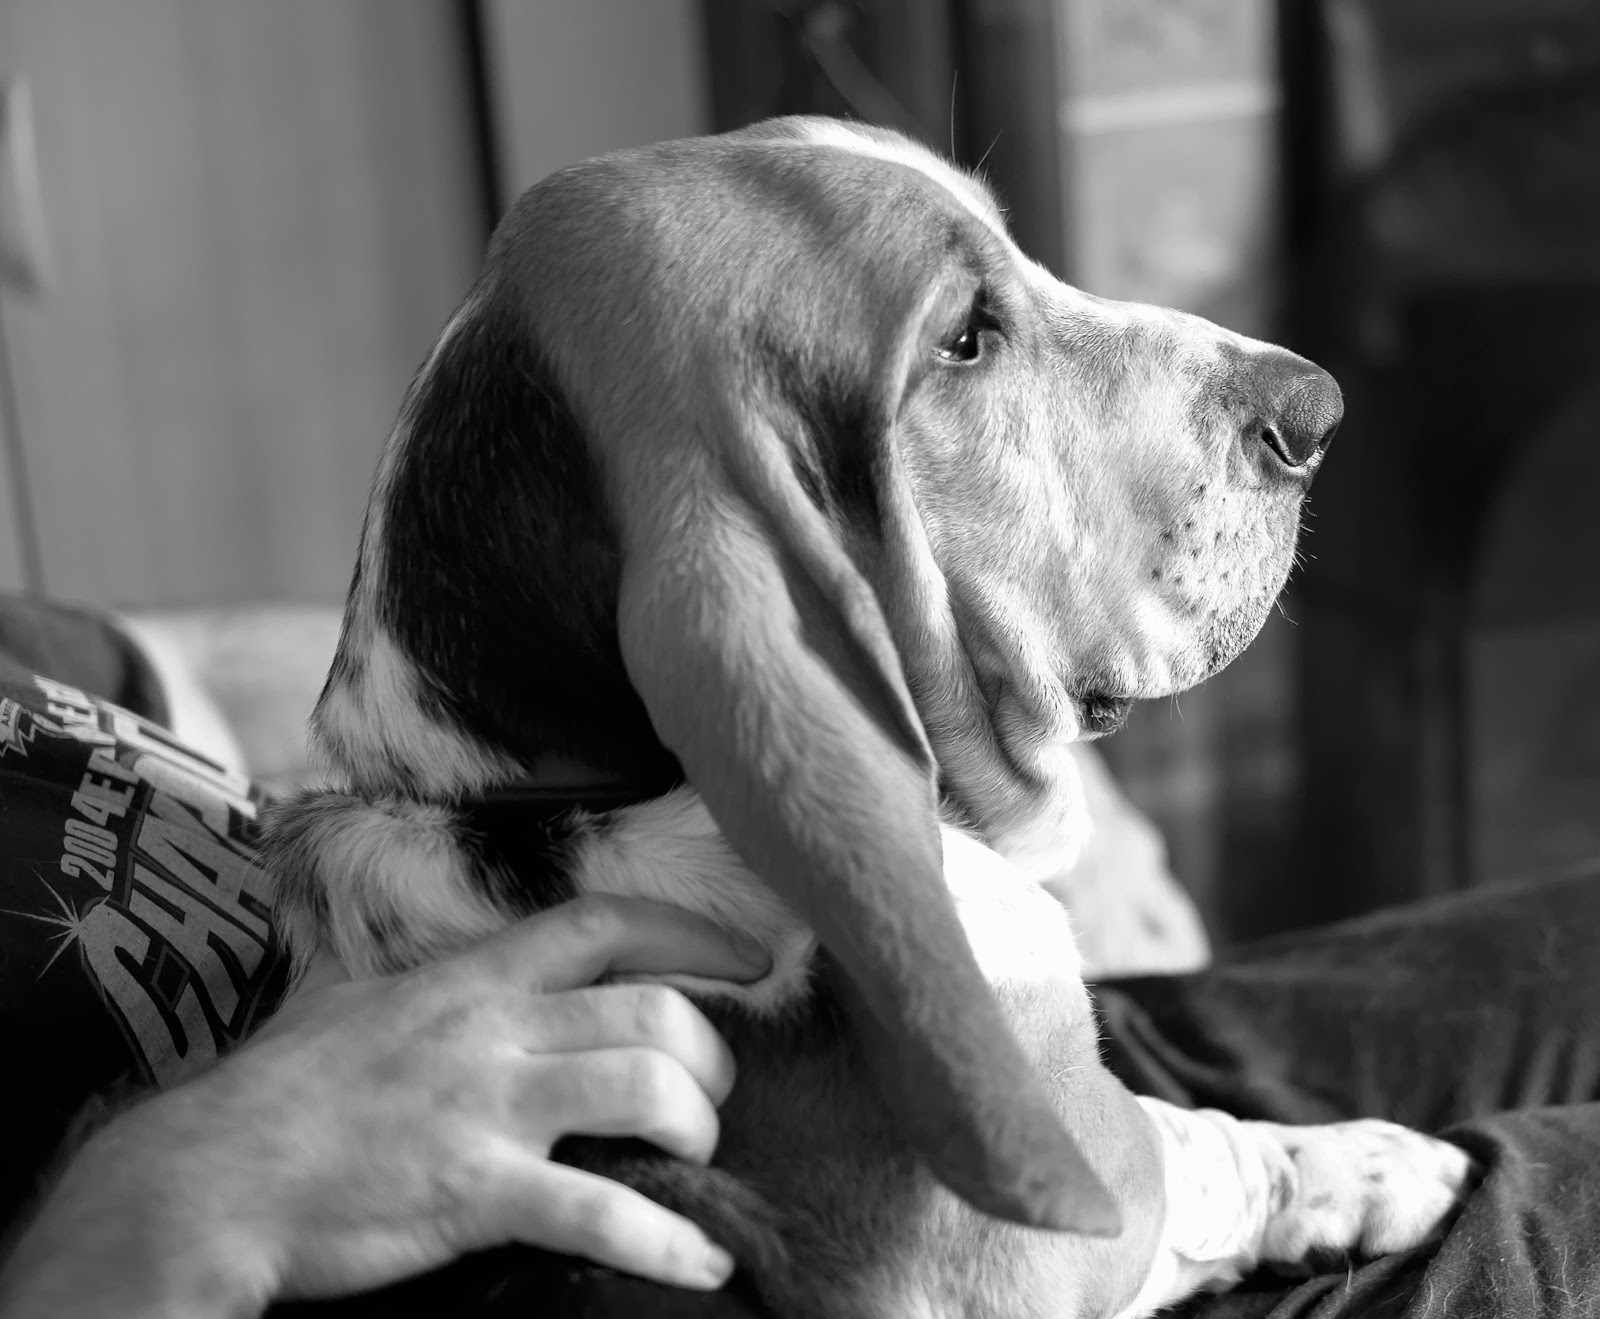
Over the last few weeks, I have had a few people ask me how I made my Ticker Tape version of Wilbur, our Basset Hound.  I thought I'd write about how I made him, so if anyone wanted to make something similar they could!
I bought a copy of Scrap Happy Quilting and like most quilting books admired it, thumbed through it and put it back on the bookshelf.  Adrienne at Chezzetcook Modern Quilts had a quilt a long two years ago to get us using our Library books and I picked this project as something to try from the book.  Then we had a get together with the Modern Quilters Ireland group in Galway and I swapped it! It has a lot of colourful projects and you can buy the book as a PDF here.  Having given mine away I had to come up with a plan to do my own ticker tape project!
So of course I chose Wilbur!  Elephants are cool and I love them in fabric, so much so, it was because of this elephant print, that I bought my very first fat quarter bundle of Valori Wells fabric, called Karavan.
Having said that, any Basset Hound owner will tell you not much compares to a Basset, so I pulled out my scraps of Karavan that I had left over from my first pieced quilt and arranged them in a bassety shape and thought this could work!

The first step is to draw an outline on your background fabric of the shape you want to fill in.  Then hand stitch along that line with perle cotton to give yourself an outline to work with.
I had great fun sketching Wilbur and was very pleased with the head and nose but couldn't get his legs right so I turned to google and searched for Basset Hound Silhouette!


I chose the first image to work with from Silhouettes by Lena and used that as a basis to complete my design.  If the image is not in the public domain you may have to ask the copyright holder for permission to use their image for your work.
If you don't feel comfy scaling up an image by hand to draw on your fabric, you can do it on the computer easily enough and print your image across multiple pages.  Tape them together and you get a full size image you can trace.  The easiest way I found to do this was to save my drawing in Photoshop Elements as a PDF, then open Adobe Reader and print my drawing as a poster or banner across multiple pages.

Once you have your outline sewn on your background fabric you then baste your quilt top, wadding and backing.  My project was about 40" x 30" so I spray basted my quilt sandwich and that made it easier than having to remove and work around pins.

Ticker tape is technique that uses raw edge applique.  You sew through all the layers of your quilt as you are applying your scrap pieces. The idea is that the pieces fray over time and you get a textured effect.  I first tried a straight stitch and realised that 1/4" was too big a seam.  Reading up on it, it should have been closer to the edge about 1/8" or less so I ripped this bit out and went again but this time with a small zig-zag all around.  I got lucky with the eye fabric and am delighted how his head turned out.

Sewing through all the layers makes a really cool outline on the back of the quilt too!

I first started with laying pieces down and trimming around them with a sharp scissors using the perle outline as a guide for the outside edges.  For the inside edges I cut straight lines and left a small gap between the pieces approximately 1/8".


It got a bit messy with lots of bits and pieces on the floor but I really enjoyed the process and trying to fit all the pieces together like a jigsaw. 

I did try to use fabric colours guided my Wilbur's own colouring.  He is a tri-colour Basset so he has black, white and a beautiful reddy brown coat.  I used blue for the black areas, white and pink and mustard for the red/brown areas.

Even though I like the shades of pink, maybe that might be a colour choice I would change going forward as G commented that it reminded him of the butchers diagrams showing the various cuts of meat you can get.  Wilbur and I are ignoring that comment!  So ploughing ahead the final layout was like this!


I initially pinned the fabric in place but with all the turning through the machine zig-zagging the little pieces down it was easier in the end to use glue. 


I tried both fabric glue and fusible tape and the tape was the easiest.  I have since bought Roxannes Basting Glue and have had great success with it so I would probably use that next time instead!

If you don't like the frayed edges of ticker tape you could use Lara's no fray applique method from her new book Crafted Applique.  Lara's method would make this process very easy!  I'll be giving away a copy next Tuesday on the blog so please come back and visit.

Finally when all the pieces are secured, quilt to finish!  I used a wavy line just like the elephant project that inspired all this in the first place.  When washed it gives amazing texture!


So there you have it - Ticker Tape Wilbur!  I hope you are tempted to try your own ticker tape silhouette project.  If you do I'd love to see it!


Linking up to
My Quilt InfatuationSew Fresh Quilts

Monday, 17 August 2015

Dog Gone Cute!

You know when you see a fabric range and you have to buy it (Noteworthy anyone?)  Well, I got that bug last week when I saw Lorna's Dog Gone Cute pattern.  As a Jack Russell Terrier owner how could I resist this one?  Even though Lorna is very generously giving the instructions for this away on her blog in a series in September, I bought it straightway, thinking I'd make a memory quilt of sorts of our two previous JRT (Toby and Patch) and our current boss of the house, Charly.
Sew Fresh Quilts
Then it occurred to me not to leave Wilbur out so inspired by Lorna's fun take on terriers I tried my hand at a Basset Hound.
To get to a Basset I somehow started with a Beagle and then kept on going, making the ears longer and the jowls more jowlier(?)
 Always amazes me how wide headed some beagles can look!
 Bassets have really long pointy heads so a high forehead was called for.
Working with strip and flip squares was great fun.  Trying to figure the angles on the strip and flip rectangles not so much and I spent pretty much the whole day Saturday with a pen and calculator, trying and testing.  The nose gave me the most trouble!
I decided to use a lightweight denim fabric as the background which was a mistake as it stretches a bit so ended up using the walking foot on my Pfaff for piecing!
Testing a block and designing it at the same time uses up quite a bit of fabric and the discards were growing by lunchtime!  (all that black is 3 attempts at a nose!)
Still I got there in the end and thought my Wilbur block might make a nice cushion as its 18.5" square but I think I might lose something of it in a curved form and am now wondering about working him into a dog quilt with some of Lorna's blocks....
 I went back to the virtual drawing board and played a bit with the face as I think the long big eared Basset look could be stronger and came up with this one on the right.  Think this might be more Spaniel than Basset.  What do you think?  Left or right for Wilbur?
 Then it was try a few more dog shapes and maybe change the shape of the nose.  Big or small?
Speaking of big noses I couldn't resist this and had to design a St.Bernard too.  This is really addictive!  I am so looking forward to Lorna's blog hop on September 1st.  Lorna has kindly agreed to share the block of my longer eared furball if I can get it written and tested in time.  Would you make spaniel or a hound?  If so any of these catch your eye?  This weekend I hope to check and double check my scribblings again by making Ben.  I still miss that Basset!
Mum, Charly, Me & Ben!
Related Posts Plugin for WordPress, Blogger...