Friday, 8 August 2014

Friday Finish - Sorting out the Sewing Space!

Nothing like a good clean up to clear the head and get me back to me the sewing machine.  The kitchen table had become a right mess with works in progress and sketches of plans for quilts.  So last week, I had 2 days off and decided to put them to good use and get my sewing space in order!  Plus Gordon's mum was coming to dinner!


While tidying, I found these gorgeous elephant prints from Karavan by Valori Wells.  This was my first fat quarter bundle.   I bought it on Etsy and it was one of those collections that grabbed me straight away.  It was this elephant, printed in 3 colours, that did it.  Very like my Noteworthy obsession, I just had to buy it!  I used the FQB to make this quilt (My First Modern Quilt pattern by Whipstitch) which was my very first pieced quilt. (Quilt #2!)

Modern Chevron, Double Pinwheel, Log cabin
Pinwheel, Dresden plate, Rail Fence
Double 9 patch, Ohio Star and Card Trick
One of the elephants got chopped up and put back together Picasso style in the double 9 patch and bits of pieces of them show up in the rail fence and log cabin.  What I like about this collection is the hot pink and mustard.  Colours I would never have put together before!

I hadn't the heart to chop up the 3 leftover elephant prints and had put the fabric aside draped over some small cushions (in addition to Noteworthy I do have a cushion obsession too!) and there it sat for over 2 years!


The last time my friend Mary came to visit, she told me to just get on with them and so I did.  I kept it real simple and used them to cover some puffy lumbar cushions I did't like much.  Mary is right sometimes you just have to finish up some things to make way for the new.  I'm an awful magpie and get attracted by shiny things.  I flit from new idea to idea but sometimes the best way to tidy up fabric is to use it!


So elephant prints are de-cluttered from the kitchen and I don't have to feel guilty looking at them unused anymore!  My sewing space is looking spiffy and bright.  Table is clear of clutter and ready for a project!


It feels good to have a clean slate and I can make whatever I feel like working on!  What to take off the to do list next?


I think I'm in the mood for triangles this weekend! This has not gone very far since the Sassy Quilters Triangle-a-Long this year.  I'm determined to not let this one sit for 2 years especially as it is one of my Finsh-A-Long goals so unnamed triangle project you're next!  What are you going to work on this weekend?

Wednesday, 6 August 2014

WIP Wednesday : Table for 2!


There is a new online craft magazine coming out in September called Make Modern.  It's the brainchild of Jane, Lara and Kristy.  I met Jane thought the Plum and June Let's get acquainted blog hop and have been following Kristy's paper piecing link up for quite a while so I was very excited when they accepted my baby quilt design.

The deadline for submission was last week so to test the pattern, I made a larger version for my mum out of 2 layer cakes.  Can you believe in all this time I've never made my mum a proper quilt?

I was surprised by that and determined to put that right.  I can't show you guys the finished quilt tops yet but I can show you my WIP on the back of mum's larger version!


So last Saturday having completed the quilt top mum and I popped out to our Local Quilt Shop, the Limerick Quilt Centre, to buy backing fabric.

I had a plan to let her pick out the backing fabric and I'd piece it straight down the middle, easy peasy!  Of course when we got there mum spotted these panels from the same range as the Layer Cakes I had used called Table for Two and really liked them. The panel has 8 prints using these 2 designs.

Trying to figure out how much fabric I'd need for a quilt approx 72" x 90"finished and how to piece in the panel was tricky but luckily Maeve the shop owner arrived and worked it all out for me in a heartbeat!   Then of course mum and Maeve realised they knew each other and came from the same part of town so we were there a while!


So this is the back!  Originally when mum picked out the panel I thought about having it going down the back of the quilt off centre but that would have been expensive.  Turned out we had just enough width of fabric to piece on either side of the panel going horizontally and this was the last of the bolt too!  Just made it!


To baste a quilt this size I had to clear the floor and move all the furniture up to one end.  Amazing how much stuff you can have in one living room!


Just enough room to fit with a few inches for me to work my way around it with the masking tape!

My shadow Charly was sent outside to guard the garden while I got on with the important job of pin basting through all the layers.  It took a bit of time and I didn't notice until the quilt was done that it had started to rain.  Sorry Charly, don't think I'm in her good books today!

Linking up to
WIP Wednesday at Freshly Pieced

Sew Fresh Quilts

Sunday, 3 August 2014

Pets on Quilts 2014


It may have seemed a little quiet around here but I've been a busy beaver making deadlines, writing a pattern and testing blocks.  I'll have more quilt related stuff to show during the week but for now the sun has finally come out and we've been able to have our annual photo shoot with the dogs.  It's Pets on Quilts time again!


Last year we entered Charly, for the dogs on quilt category, to my favourite Link up party hosted by Lilly Pad Quilting and this year its Wilbur's turn!  This post is all about Wilbur sitting on a quilt so feel free to skip the text for the photos!

Wilbur is our rescue Basset Hound who adopted us nearly a year and a half ago.  He is quite mad in the head and was in the shelter for a small while as he is over enthusiastic about most things (pulls on the lead, plays rough, tries to grab things out of your hands, steals food from the kitchen counter tops!)  I've written about Wilbur's happy, bouncy character in this earlier post  with lots of photos of him settling in and pretty much taking over the whole house!

But to be fair to Wilbur, he has learned some restraint since we got him and he tries really hard to be good.  We try really hard to be calm and patient and he knows he can't play rough with me though he still nips my knee every now and again for attention!

He is 8 years old and thinks he's 2!  He was found straying in Mullingar, up the middle of the country, eating out of rubbish bins and he was brought to the pound.  They were going to put him to sleep on his 7th day there when thankfully Ash Animal rescue took him in and that's where we found him!

He does a great sit when there are treats on offer.  I've never seen a dog whose bum hits the floor so fast as Wilbur when he thinks there is food coming his way!  Especially apples & bananas, he loves those and we guess its from the rubbish bin diet he had for a short while.


We've been waiting all weekend for the rain to stop and the ground to dry out a little to have a photo shoot - an excuse really to do a training session with treats.  They don't last long around Wilbur who seems to inhale his food half the time!


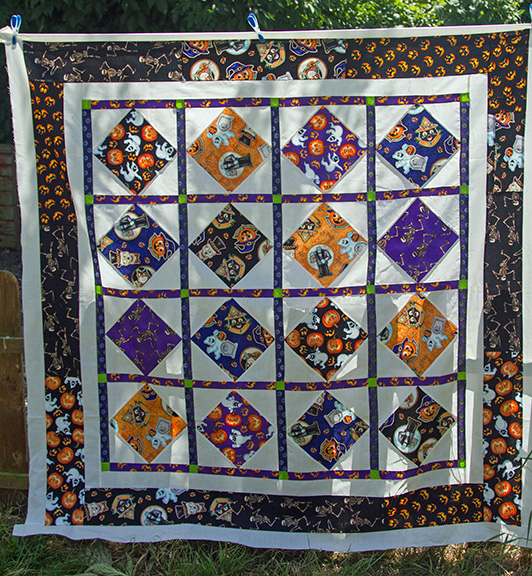
The quilt is my Halloween finish from January which took me longer than anticipated to make!


Of course we couldn't leave Charly out. She is 5kg and Wilbur is 25Kg but she thinks she's the boss!


Wilbur has other ideas about that!

To win some prizes, (Lily Pad Quilting has tons of prizes on offer) please pop on over there and if you could give Wilbur a vote we'd appreciate it!

Monday, 28 July 2014

Crossroads


The Irish Patchwork Society (IPS) hosted a viewing of the Crossroads collection this month in Limerick City.  There is a lovely venue in the city centre at 51 O'Connell St.  It is a bright airy room with direct street access and good for passers by and a perfect choice to exhibit these mini quilts from all over Europe.


The European Quilt Association issued the theme of Crossroads and quilts from 18 countries across Europe make up the collection.  Ireland was the last to host it and it was a really lovely treat for us to see all of these.  Loretta did a fantastic job curating the quilts and here are some of my favourites!

These 10 were the Irish quilts in the collection:


.
This camper van by our own Cecilia from the mid-Western Branch of the IPS is one of my favourites.  I love the texture in the rocks and the variation in the hills and even the painted on rain is perfect!


There was a lot of variety and some really gorgeous artwork, each interpreting the theme very differently.

Thanks Loretta for all the hard work bringing this to Limerick.  It was a wonderful exhibition and fantastic to see!


Friday, 25 July 2014

Photo Friday - Wide Dynamic Range

Ever taken a photograph like this?  On a sunny day where there are bright spots and dark shadows in your photo,  you get a big contrast between light and dark.

Remember in this previous post, we said areas of greatest contrast draw the eye.  In this image, the eye bounces all over the place and has no where to rest. This is a problem of too much contrast. The answer to this one, is to wait for a cloud, look for even, open shade (stand the subject all the way under a tree) or wait for a later time of day to take the photo.

I posted this when I was finally finished this quilt top.  I was so happy to be finished, I didn't worry about the photo at all!  So I'm as guilty as the next person!

Sometimes though when you are on holidays, and out and about, and can't move the subject into better light what do you do?  

In these photos with a wide range of tonal contrast, (difference from lightest to darkest parts of the image), the camera sensor will find it tricky to expose the scene.

In this first image, the boats are well exposed, we have a nice sun flare effect but the sky in the distance is blown out to white.  There is no detail recorded here so there is nothing for us to work with. The camera exposed for the boats and sacrificed the sky.

In the second photo, taken in the Venetian hotel in Las Vegas the sky has been recorded and the foreground is now too dark.

Our eyes are amazing at adapting to differences in light, but camera sensors as well designed as they are, can only record a portion of what we can see in terms of tonal contrast.

As we saw when looking at camera noise, different sensors will have a different range of light to dark that they can record.  This is called Dynamic range.  A good camera sensor will pick up 10-14 stops of light.  As with noise minimisation, the bigger the sensor, the more modern the camera, the better the dynamic range.  There are things you can do when faced with tricky lighting like this to maximise your chances of getting a good image.
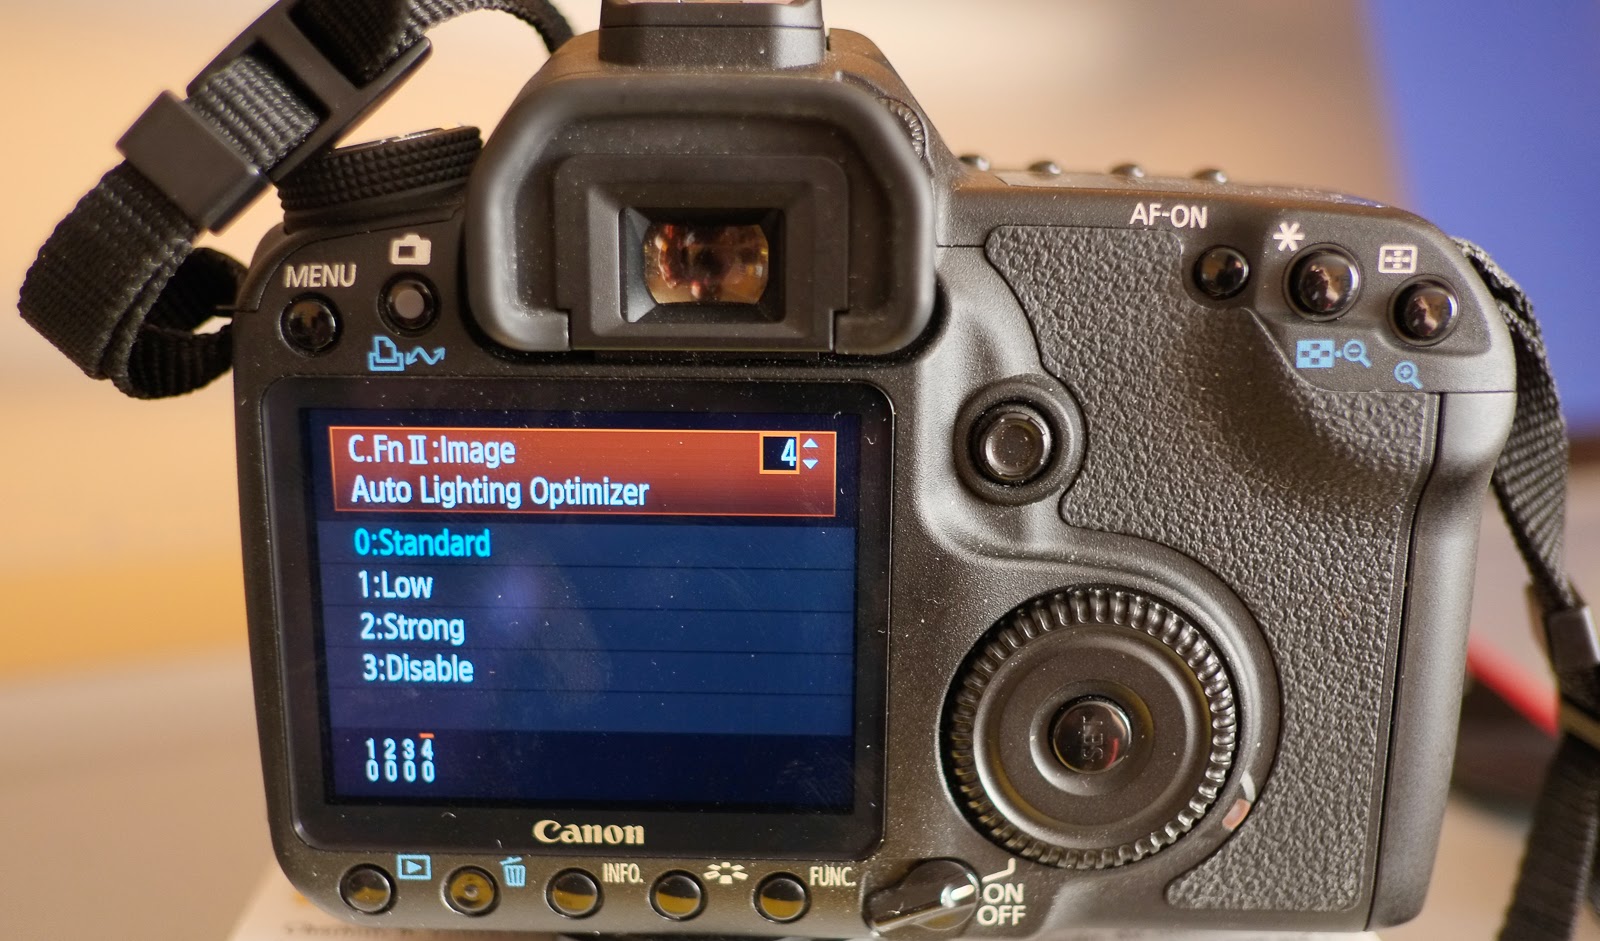
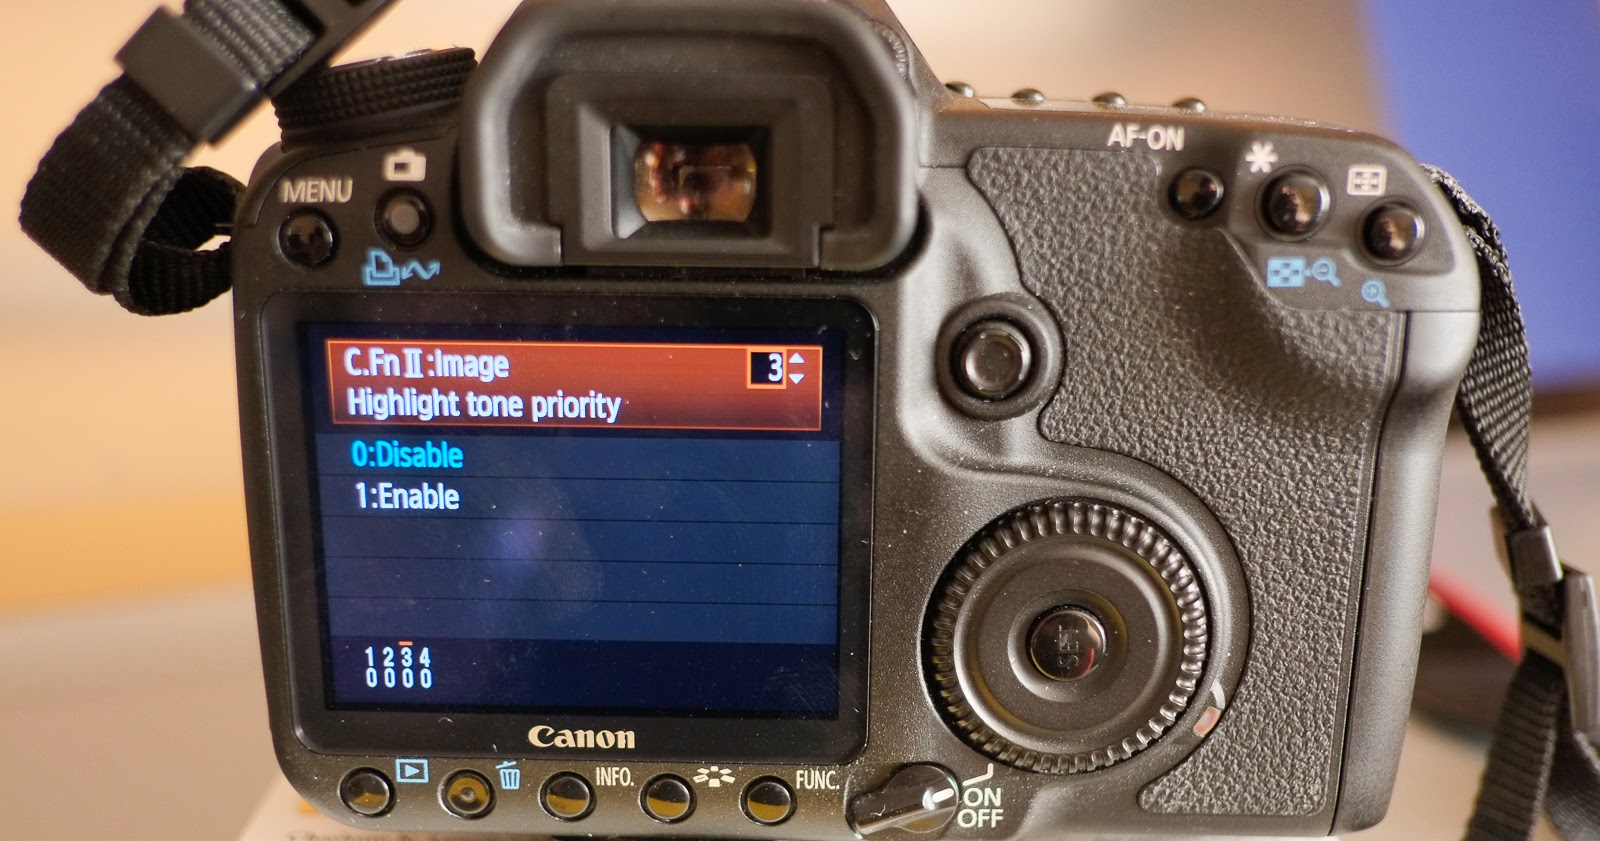
Some cameras have custom features that you can enable.  Nikon has a custom function called active D lighting that you can turn on in in the menus.  Fuji makes it easy and calls their custom function Dynamic Range.  Canon has Auto Lighting Optimiser (ALO).  This preserves shadow detail in high contrast scenes and tries to even out the image to improve the look.  If you want to preserve highlight detail, Canon has a custom function called Highlight Tone Priority (HTP) which sacrifices the shadows by 1 stop and preserves highlights (wedding photographers love this for shooting the bride).  Just remember to turn it off again when you don't need it, as you will get increased noise in the shadows.
Shooting using RAW rather than JPEG will gain you an extra two stops of dynamic range.  We saw in an earlier post that processing in Camera RAW can help recover some of the highlight information.  If you are shooting JPEG's and blow out your highlights you can't get this information back!  There are times though when shooting RAW still won't be enough!  For those times, or if you don't have RAW available to you on your camera, you can try the following:
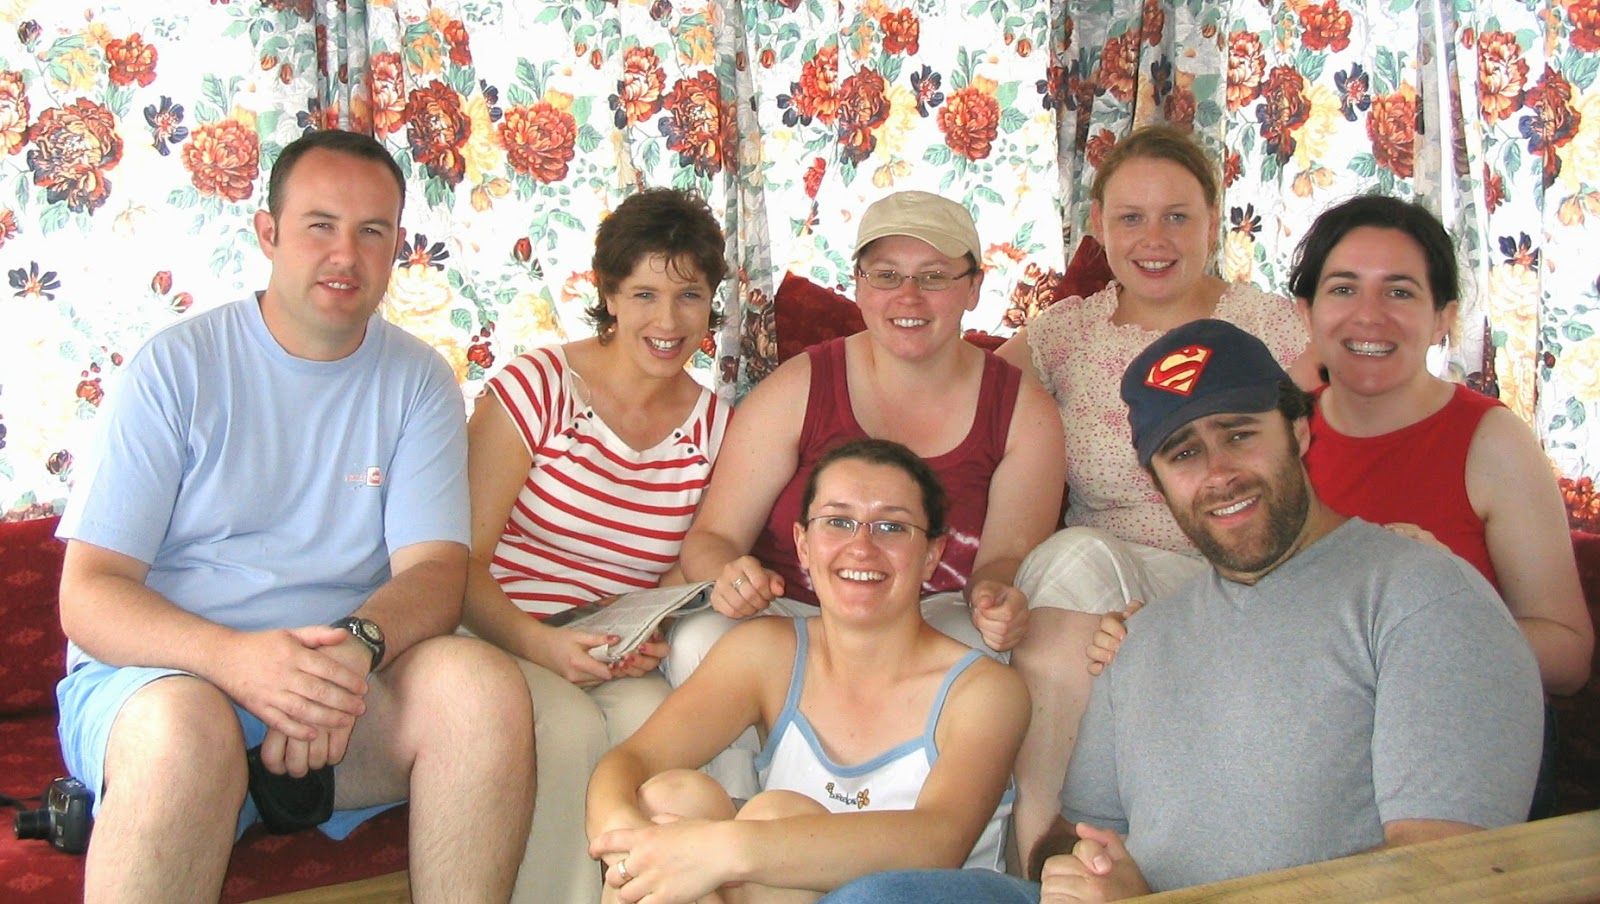
Crop out the sky or change the angle, remove the lightsource.  The lightsource will usually be the brightest part of the image (sometimes reflective surfaces will give a really bright highlight).  By pulling the curtains here in the Caravan at the West Coast of Ireland, even though they are patterned!, they keep the bright light from outside dominating the shot and allow a nice exposure of the main subjects (I'm on the far right!).
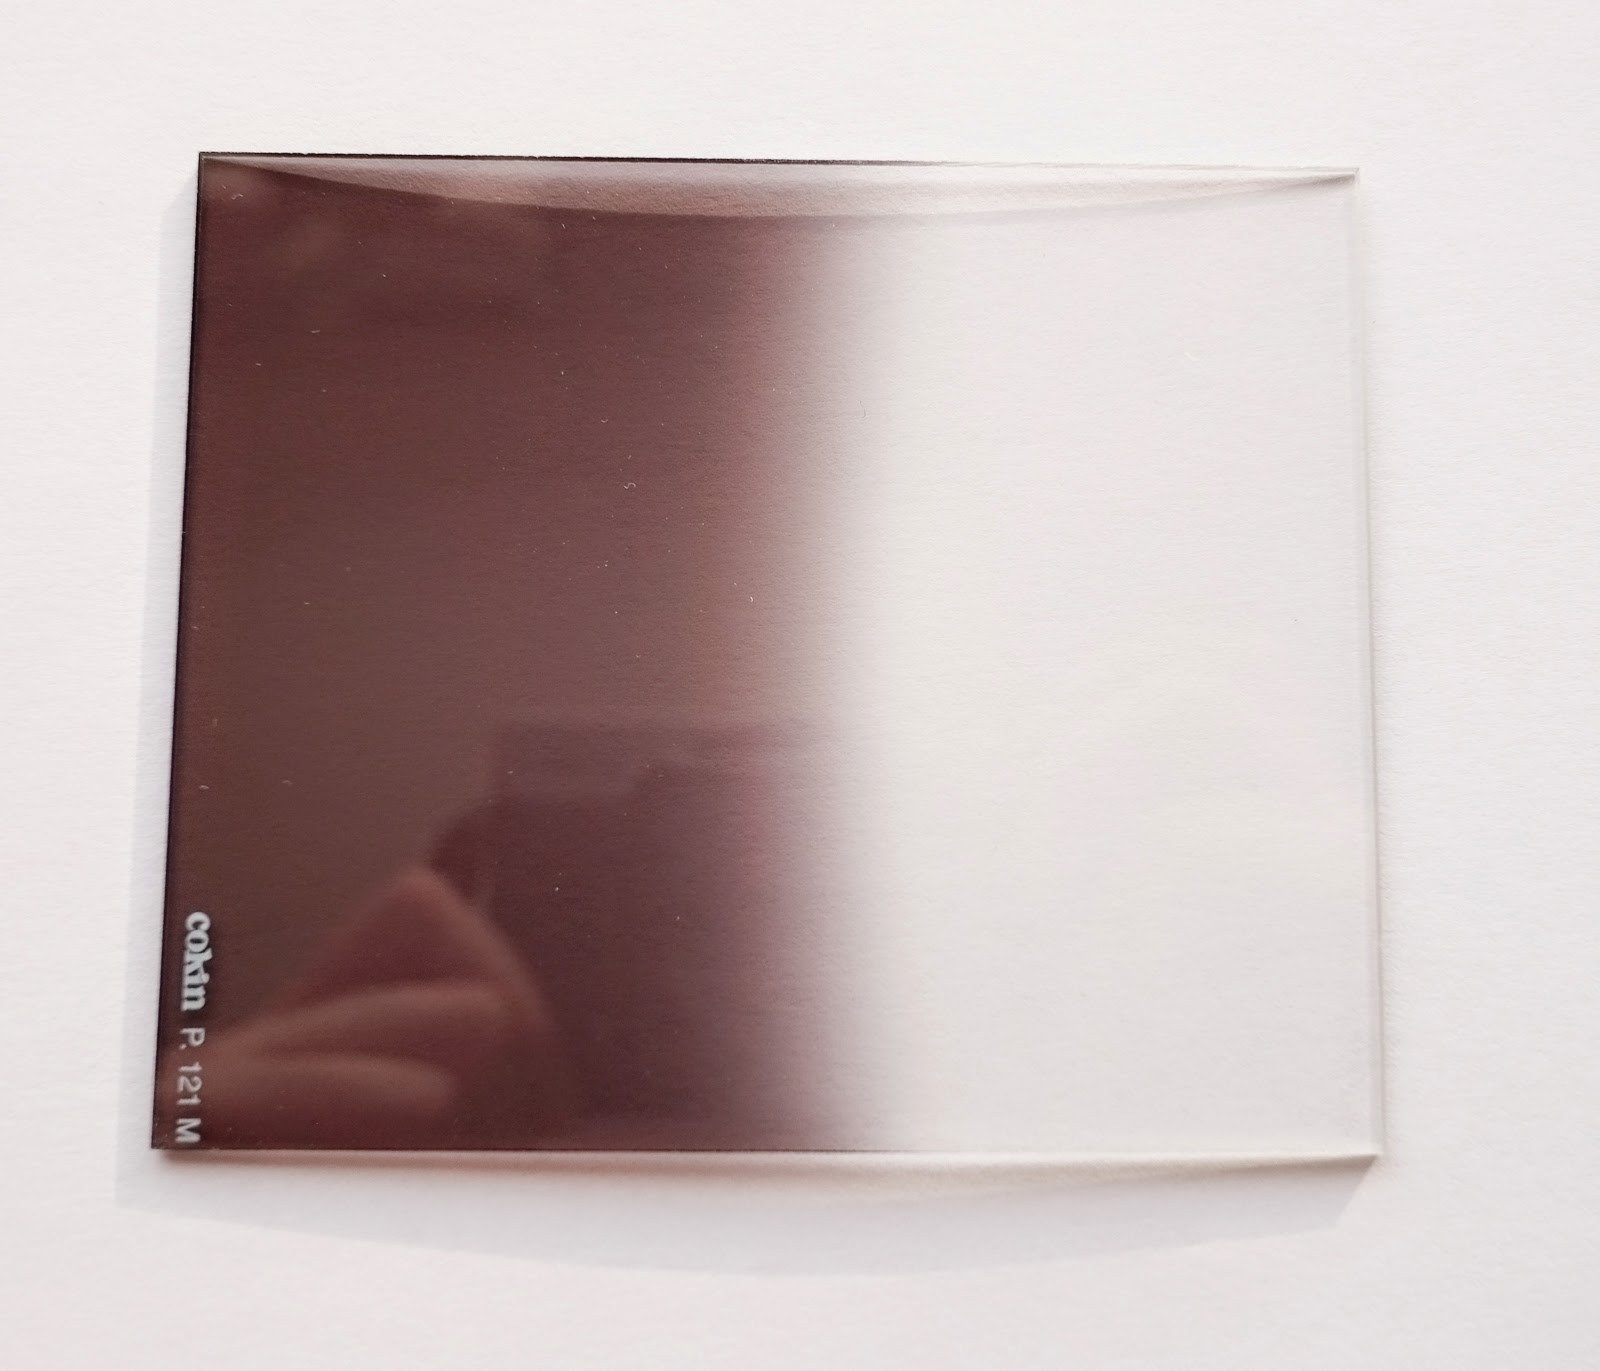
Taking interior shots with a view to outside is always a tricky dynamic range shot, as is very bright skies on a sunny day.  If you can't crop out the sky in your image, you can use a graduated neutral density filter.  A Neutral Density filter will allow some light to pass through without changing its colour.  (Coloured filters are available too that are in full and graduated versions to give you bluer skies or sunset effects with a tobacco/orange colour!)  A graduated neutral density filter is grey on top and clear on the bottom.  Place the transition at the horizon and the sky will darken and the foreground will remain unaffected.

Lightroom has a graduated filter adjustment that you can paint on by hitting the M key or clicking in the rectangular box in the adjustment panel in the develop module.  You can pull your filter down and vary the angle you want to use and then adjust the exposure to make the sky darker or brighter.


Another useful filter to have to cut out reflections and give you clear blue skies, is a Polarising filter.  A Polarising Filter will cut down on the amount of light entering the camera (usually 2 stops) and the camera will adjust to use a slower shutter speed or increased aperture but the effect on your image is very important.  It will reduce the effect of glare off non-metallic reflective surfaces like light on water and can help make blue skies more blue by increasing saturation.  A circular polariser is used with auto-focus cameras and you turn the filter until you get the effect you want.

(If you have too much light in general an adjustable neutral density filter available from -1 stop to -10 stops can be used.  Landscape Photographers love this as it allows them to use a slow shutter speed to blur water even in bright sunshine.  See Lee's website for examples of filters in action).

Adding light can help lift shadows and reduce the difference between dark and light.  You often see film crews lighting up a scene in broad daylight.  Adding light with flash is very useful for those interior shots we mentioned above as it helps balance the light inside with outside.  It is also very useful for backlit subjects when you don't want to capture the subject as a silhouette.
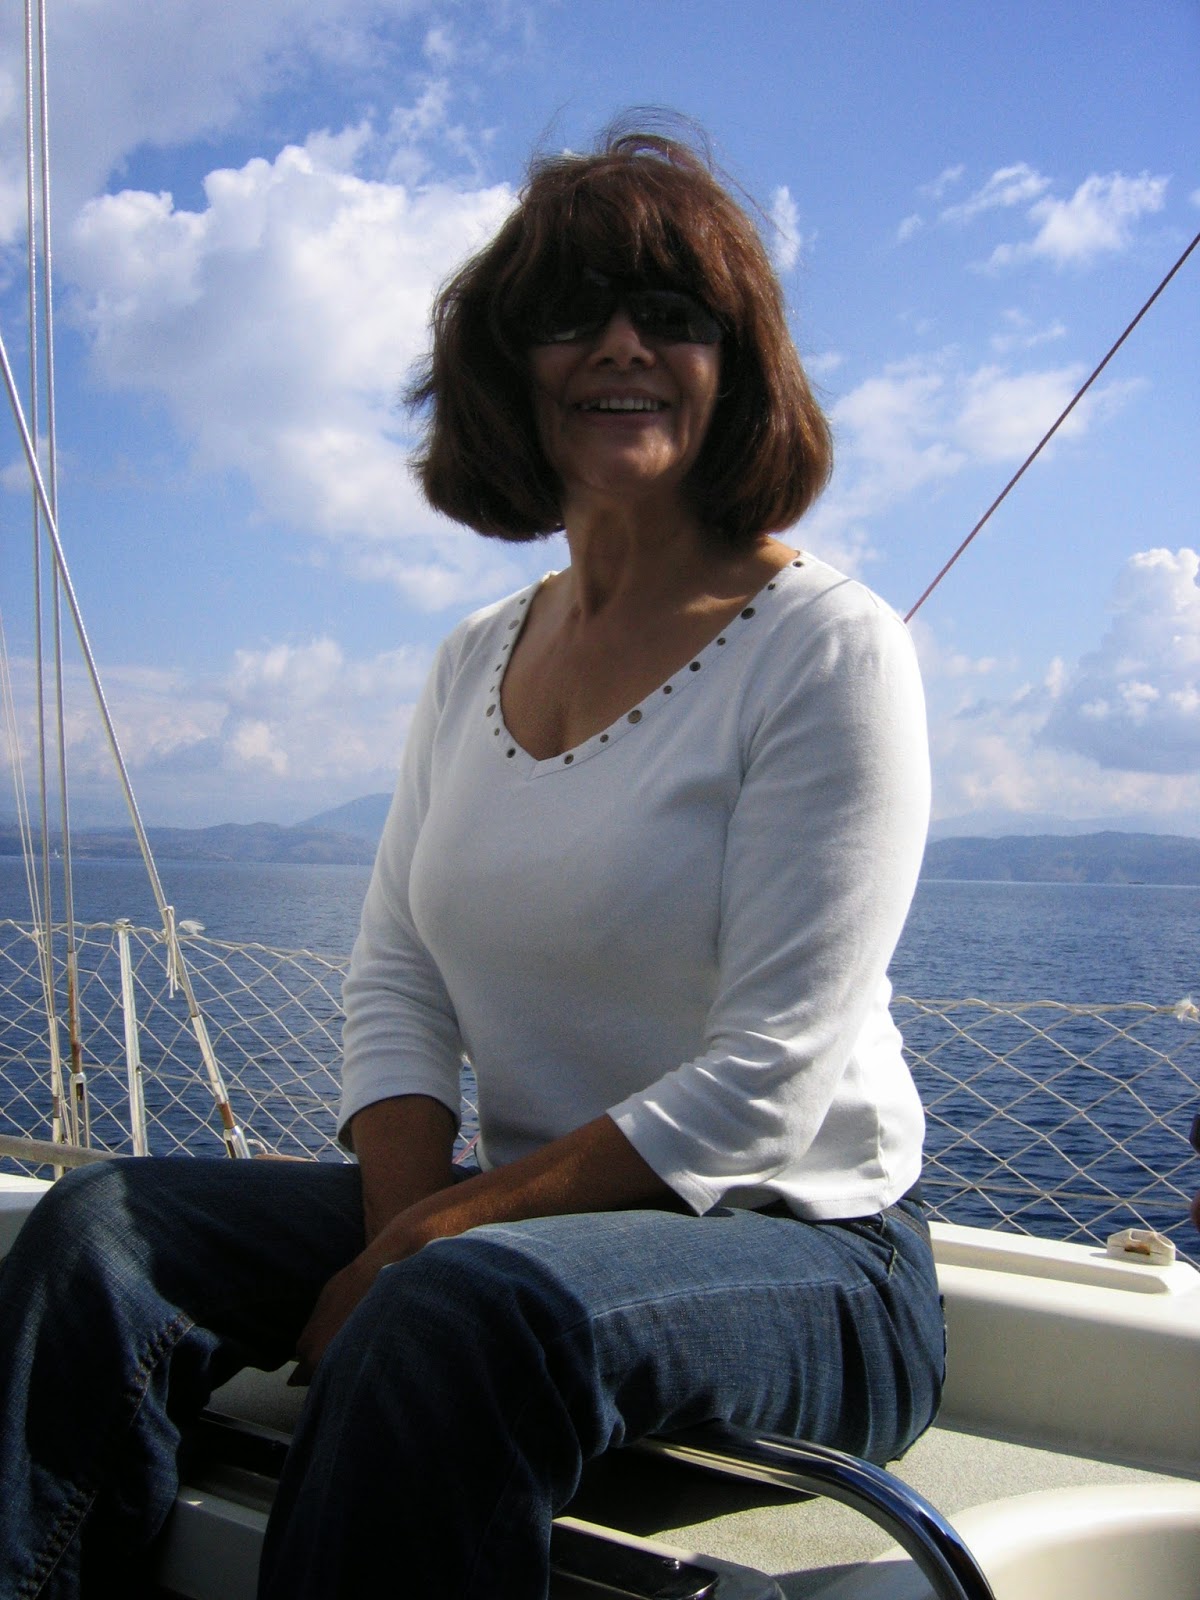
Gordon's mum Ann is backlit here by the light coming in from the right.  This was a snapshot taken on a boat in Corfu and when taking sneaky candid shots you can't ask the subject to turn into the light nor is there that much room on a boat to move around and not get in someones way!
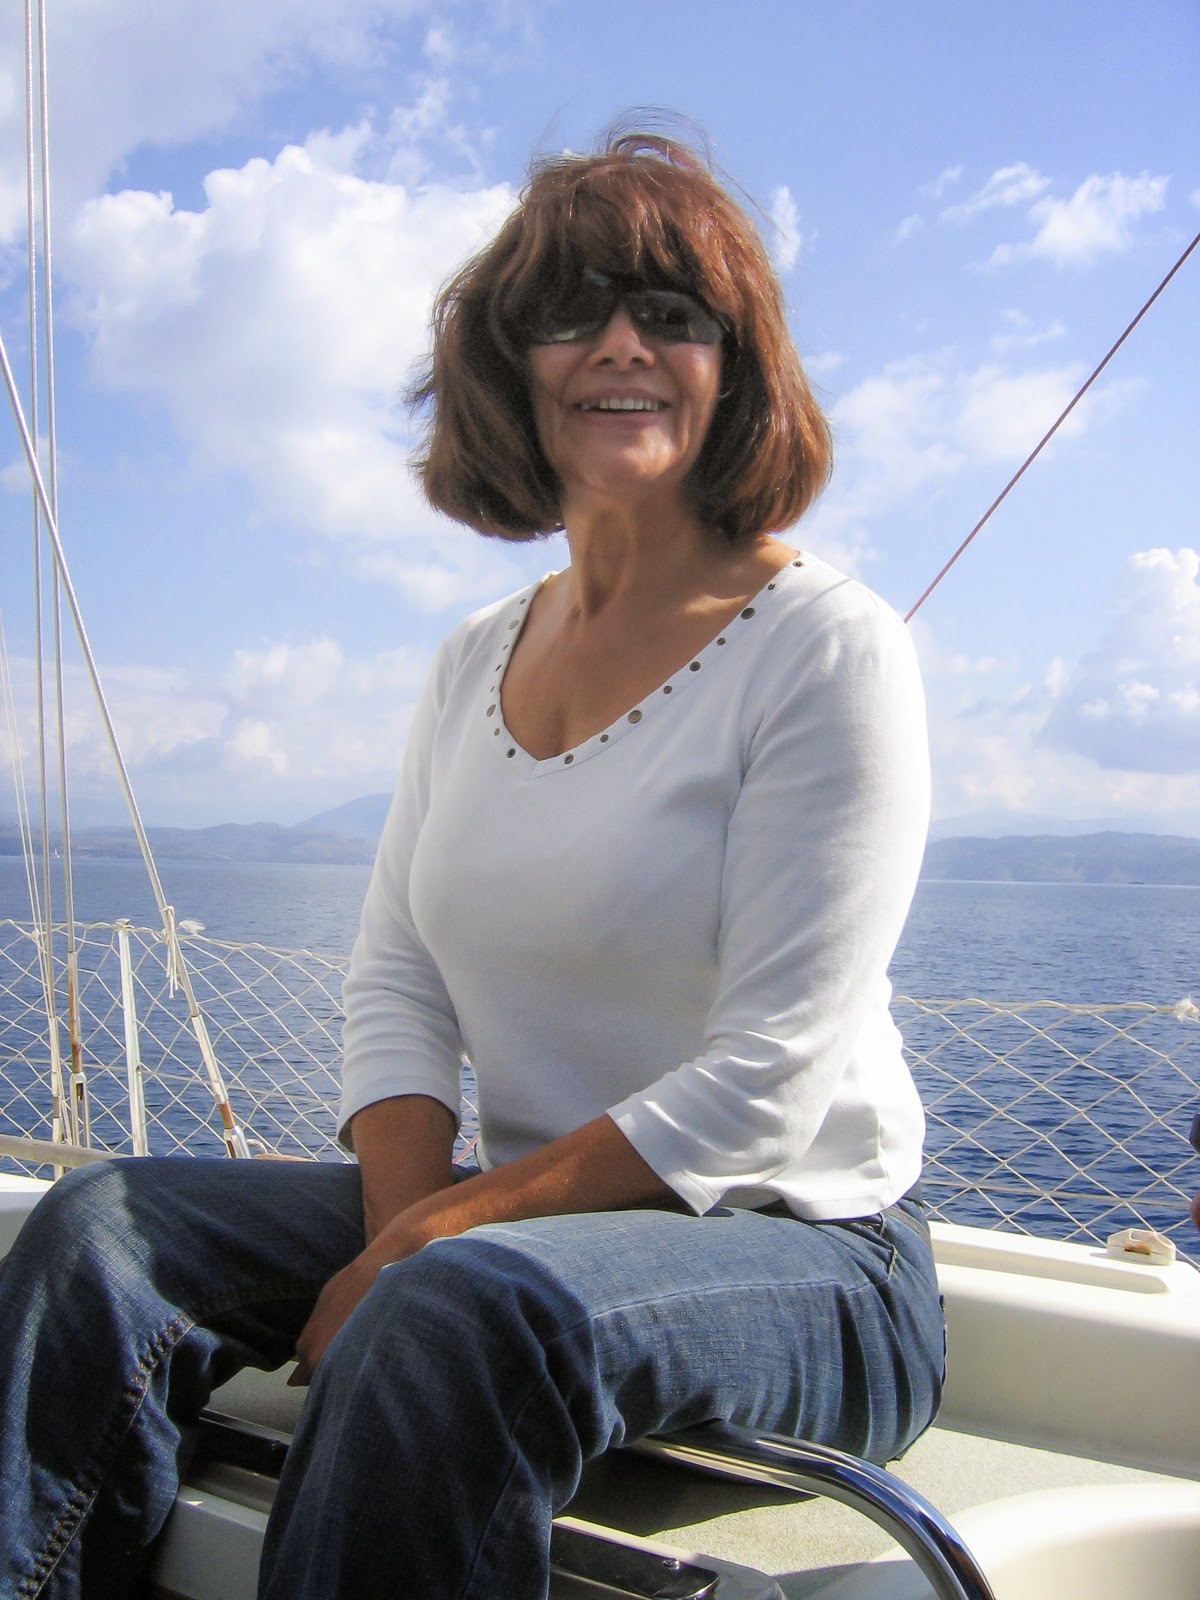
Ann's face is quite dark and even though it is a bright sunny day the easiest way to handle this is to add light.  Fill flash is often used by portrait photographers to lift the shadows around the eyes and to brighten up the face.  A reflector would be a good option here but chances of having a reflector on hand when you are on holiday are slim!  Turning on the flash even in bright sunshine and adding some fill light makes a difference!  Lightroom simulates this using the shadows slider and moving it to the right.
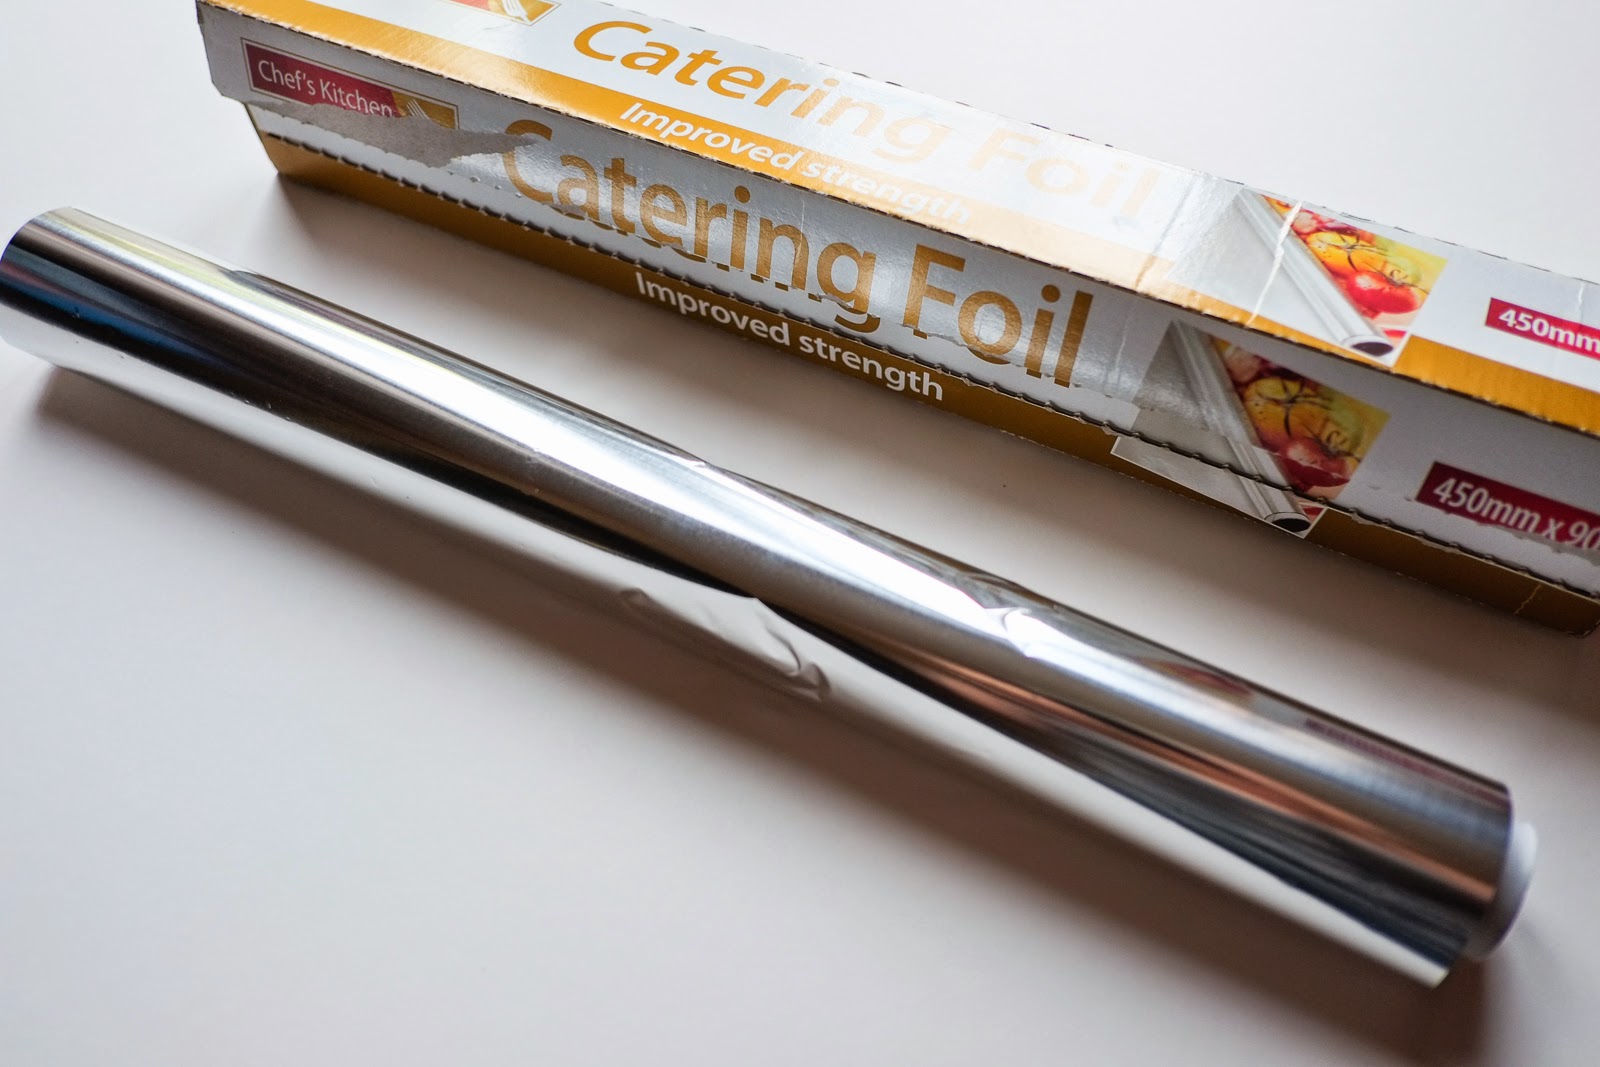
A very common lighting set up is to use the directional light from a large window to light up your subject and then bounce some light back to reduce the shadows.  A piece of white cardboard can work really well as a reflector or wrap the cardboard in reflective tin foil or cooking foil to bounce even more light in.
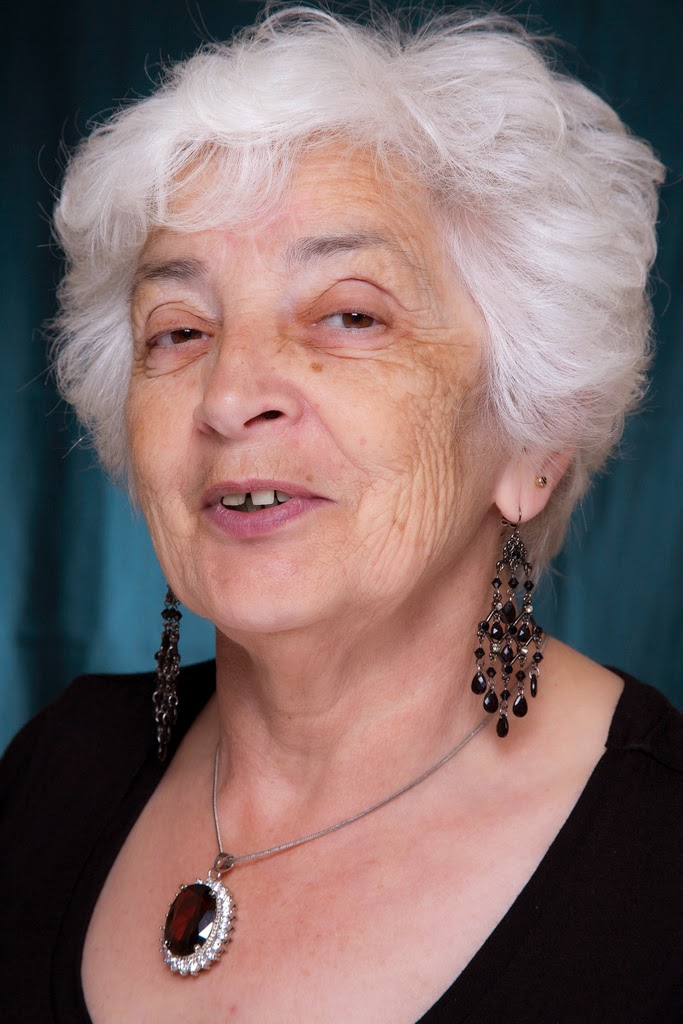
In this photo of my mum I used a golden reflector to bounce light back up into her face and keep the image warm.

Lastly if all else fails you can bracket your shots by taking multiple exposures and combining them later in software.  Some high end cameras will even do this for you in camera.  You can combine one exposure for foreground and one for sky or you can take multiple exposures at different exposure compensation amounts, usually -2, -1, 0, +1, +2.  These are then combined in software for processing to a final image.  A tripod is an essential tool when doing this to hold the camera in the same position for all 5 exposures. Combining multiple exposures like this is called High Dynamic Range (HDR) photography.

There is specialist software available for this outside of Photoshop.  Photomatix is very popular and one of the links, I provided last week for Photoshop plug ins,  was Nik Software.   They have a program with presets called HDR Efex Pro.  You can go really mad with this and end up with an image from outerspace or go realistic and end up with a more natural effect.  It is a versatile technique that can get you the look you want in challenging high contrast light.

So that's it for this series of Photo Friday.  Thanks for sticking with me and I hope you find these techniques and tips useful in your craft and everyday photography!


Related Posts Plugin for WordPress, Blogger...