
Even trying to keep perfectly still, our hands will make small movements. With live view and compact cameras, we have become used to holding the camera further away from the body and this can exaggerate movement.
 |
| Images in this post taken by me with second camera handheld or on tripod so be kind, I did my best! (Helper gone on holidays for 2 days. I think Wilbur is wishing Gordon would hurry up and come back!) |
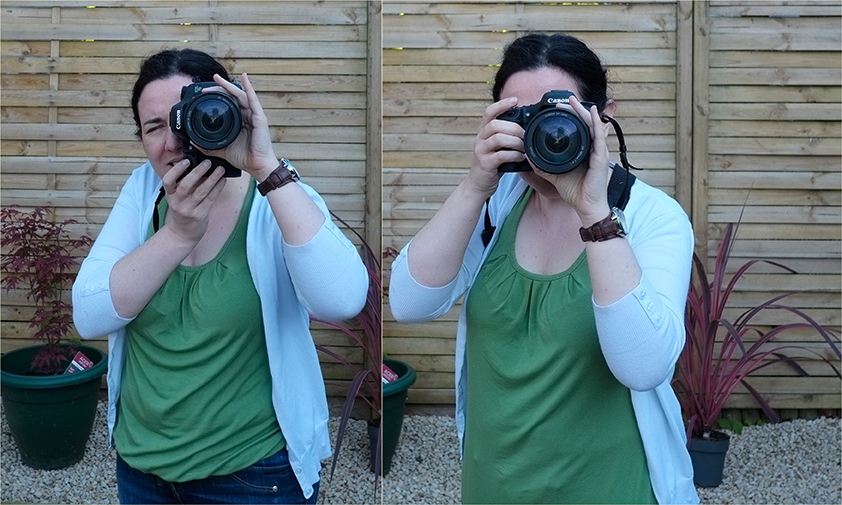 The correct way to hold an SLR camera, is to have one hand on the grip and the other supporting the lens, keeping your elbows close to the body and the camera at your eye. Even with this stable position, if you use a slow shutter speed and leave the shutter open for a long time, to allow in more light to the sensor, the chances of a blurred image, due to camera movement increases. *Updated image! (Gordon came home and helped me - far easier to be behind the camera than in front of it!)
 |
| Camera Blur warning on bottom left |
The rule of thumb in 35mm photography is the shutter speed should not be slower than 1/focal length of the lens you are using. So if you are using a 50mm lens the shutter speed should not be slower than 1/60th second (nearest fastest to 1/50). In fact to be on the safe side, a lot of people double this and shoot at a shutter speed of not less than 1/125th when hand holding the camera. Some people can hand hold a camera at 1/30th of a second, I’ve tried it and most of the time it works out OK for me but I try to use 1/60th!

If you have a zoom lens, you make the calculation at the focal length to which you've zoomed e.g. you have a 24-105mm zoom. At 24mm you may be able to handhold at 1/30th, better with 1/60th but at 105mm you would be looking at 1/125th of a second minimum.

For a dSLR with an APS-C lens you need to put this back in 35mm terms but it’s not difficult. An 18mm lens on an APS-C camera has a crop factor of 1.5 on Nikon and 1.6 on Canon. This is equivalent to 27-29mm full frame (focal length x crop factor) so you would use 1/30th of a second minimum.
To get your exposure at the aperture you want (last post we explained aperture, opening area of lens that light passes through), if the light is low, you will need to keep the lens open longer. If the camera wants to use a shutter speed slower than that you are comfortable hand holding, for the aperture selected, you will need to use a tripod, balance the camera on a support (e.g. a wall) or increase the ISO.

 Anyone pre-digital would remember buying ISO film (sometimes called ASA). For zoom cameras ISO 400 was preferred instead of 100 or 200, as 400 film reacted to light faster allowing the use of faster shutter speeds (each jump in ISO doubles the light sensitivity of the film). This was really helpful when zooming out, as at full zoom any hand movement is magnified. ISO 50 and 100 were typically used for outdoors where most of the time there is bright light. 200 and 400 were recommended for cloudy days and 800, 1600 for sports or indoors or 3200 for low light. High speed film could be damaged by x rays and you often see signs at airport security advising tested safe for film, so photographers don’t have to ask for a hand inspection.
With ISO in digital photography, while the physics of the sensor collecting light compared to film’s reaction to light, is very different, the principle of increasing ISO in low light to get a good exposure or increase shutter speed to avoid blur remains the same. The additional bonus with digital is you change it from shot to shot, unlike film where you were committed for 36 frames!

Many cameras will have an auto setting. The camera chooses the lowest ISO needed for the shot and can increase ISO as shutter speeds decrease. When using a compact camera and you get the handheld warning sign, you have the choice of increasing the ISO, if not at the maximum already, or allowing flash. Sometimes you don’t want to use flash (in a museum, night time photos in the city, at a concert etc.) so you can try finding a support to lay the camera on or use a tripod.
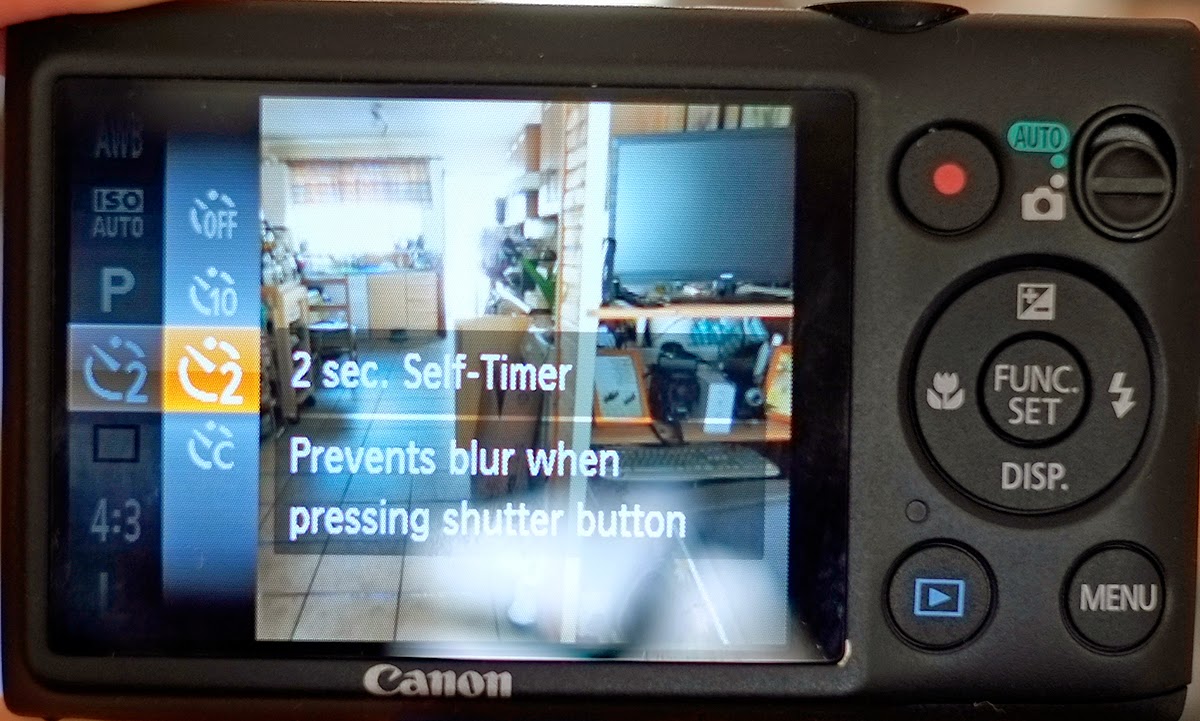 Tip: If using a support e.g.wall, table or tripod, try using the timer function on the camera as your hand movement on the shutter button can cause a little camera shake and the timer will ensure the photo is taken when your hands are free of the camera!
When using a dSLR there is a wider range of ISO settings available to you. Every camera will have a native ISO setting that gives the least amount of noise. It’s usually ISO 100 or 200. As you increase ISO you increase the noise in your image. Noise is a random pattern of discolouration in your image. It can give a very speckled appearance and degrades the image particularly in dark or shadow areas. (In the next post I’ll talk more about noise, what causes it, minimising it and post processing software to control it.)
 |
| Noise Reduction applied on left, original as shot on right! |


You really did a good job of noise reduction there!I used to work at Jessops (and have a few photography qualifications, not that you'd know it from my lazy photos nowadays) and had to teach people about this kind of stuff every day.
ReplyDeleteWow there really is a science to it, isn't there? I appreciate people's photos much better now!
ReplyDeleteQuilting Jetgirl has this series of posts listed in her tutorials! You are to be commended. For the first time, I'm finally beginning to understand better. You have a gift for teaching, explaining, and reinforcing each point made. Understanding and remembering the keys to photography alludes me, and over the years I've retained little of what I've tried to learn. Even the manual that came with my camera is a bit over my head. I'm looking forward to finishing this series, then revisiting each post again, taking notes, and exploring my camera further, and concentrating on being a better all around photographer. Thank you for taking the time to write these posts, and for keeping them available after all this time. ~karen
ReplyDelete