Showing posts with label Library Project. Show all posts

Friday, 19 December 2014

The Library Project - A Finish

Last January, Adrienne @ Chezzetcook Modern Quilts had a great idea for a monthly link up party.  We were to pull from our shelves the craft books and magazines that we had been hoarding and pick 4 or more projects to make.  Instead of thumbing through our Library, put those books to good use!

I picked 4 projects initially and then added 1 more to give me 5 to aim for.  I managed to get 3 made from these two books over the course of the year.
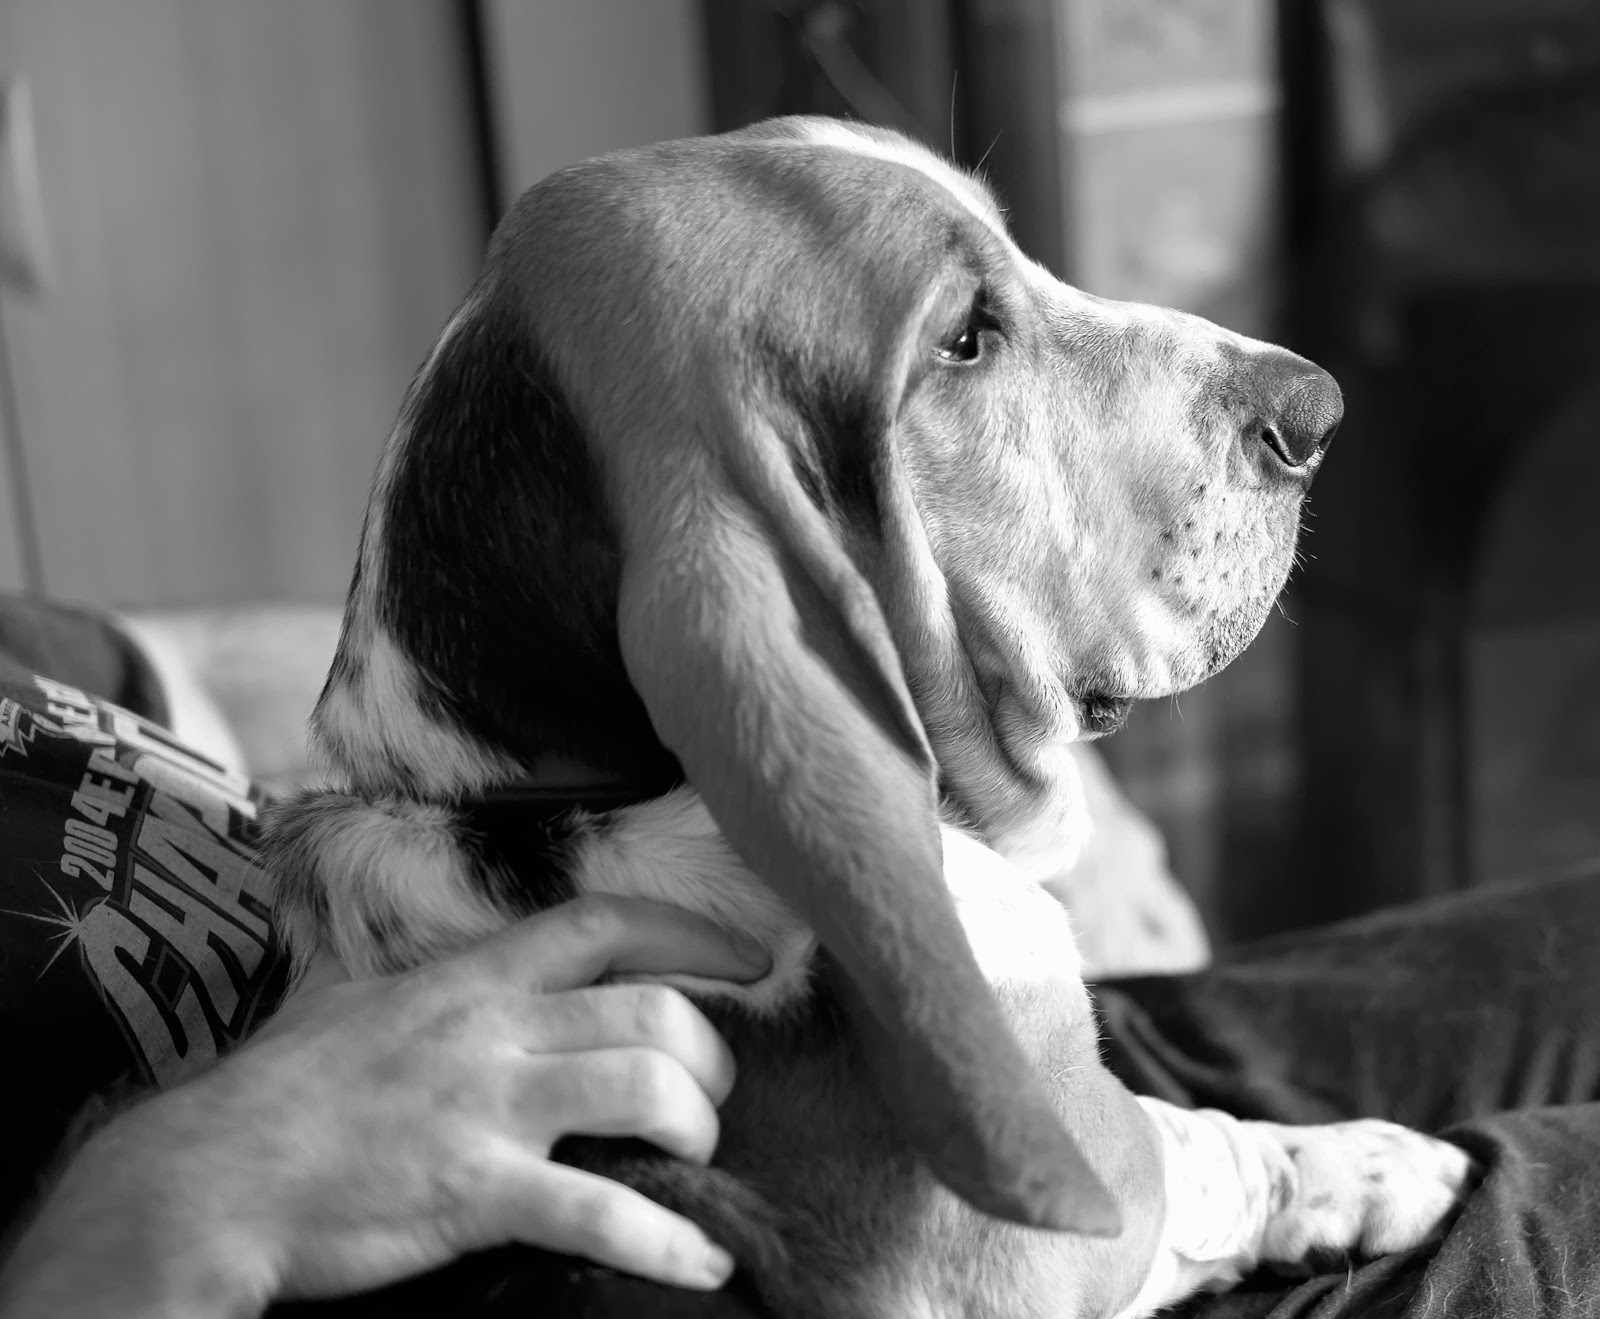
This is my last of the 3 and I forgot to blog about him finished!  I've written about my work in progress on this little 30 x 40 inch quilt here and here but forgot to share him as a finished quilt.  This is Wilbur our Basset Hound, who apart from sleeping and eating (his favourite pastimes), likes to pose for photos.


So I had the bright idea of making a Ticker Tape quilt version just like the elephant in the Scrap Happy book.
I used scraps from the Karavan range by Valori Wells, as I thought the colours were quite Basetty, and things were going well  until Gordon commented that he looked like one of those butchers cartoons showing the cuts of meat.  Close your ears Wilbur, don't listen to him!

The process is to sew an outline shape, (I hand sewed with perle cotton), layer and baste your quilt sandwich and then add the pieces to fill the space (I used fusible paper) and stitch them down through all three layers.  I preferred a zig zag over a straight stitch and added wavy line quilting all over.  I love the texture it gives when washed.
I was given advice in our local quilt shop to wash first and then add binding and this worked out a treat!

From the Creative Quilting special edition magazine, I also made my first bag from charm squares which led me to tackle what I consider my first proper bag the Bye Bye Love bag by Sew Sweetness.


And I made a quilt from gingham charm squares too.


And tried my hand at free motion quilting clamshells and figures of 8!
Thank you Adrienne for a great project to work on this year.  I tried and learned new things and completed 3 projects I am very happy with!  How about you guys?  Any inspiration or projects lurking away in hidden books you might want to try next year?  I still have these two from my list to get to!
From Best of Fons & Porters Baby and Kids Quilts
From Hand Quilted with Love by Sarah Fielke


Linking up to Thankful Thursday, Finish it Friday and for the last time
Chezzetcook Modern Quilts

Wednesday, 24 September 2014

Library Project Update : Ticker Tape Wilbur

Our online group of Modern Irish Quilters are having a sewing day in Galway this Saturday. I’ve been trying to figure out what I should bring with me to work on. Having had a glance at my Finish-A-Long quarter 3 goals I’ve had a bit of an oh oh moment. It’s not that I haven’t been busy, its just that I’ve been busy on other things… Bit of a theme across all 3 quarters this year so far!
  

As its Library project up date week too, (make something from your books and magazines instead of browsing through them and putting them back on the shelf!), I decided to dig out Wilbur and finally get around to choosing and sewing down the scraps to make up his body. He’s had a head for a while now and is the opposite of Nearly Headless Nick, more like Floating Headed Dog so I’ve been chopping up scraps and matching them to the contours of his body.


It’s been some time since I looked at this project and a previous photo where I had roughly laid out some scraps came in really handy for jump starting me again.  The idea behind Ticker tape projects is to sew down the pieces one at a time and build it up as you go.  That kind of randomness wasn't quite what I had in mind.  I wanted a strong Basset shape with some kinda sorta Basset Hound shading in terms of colour placement.  I'm not being too true to Wilbur's colouring, using it more like a guideline!


Basset's can be any hound colour - most are brown and white.  Wilbur is a Tri-colour Basset (black, white and brown) so I'm using blue to give a hint of the black and cream for the white with shades of mustard, pink and a bit of red/orange for the rest of him!

Last February I started this project with a hand sewn perle cotton outline and have written about the ticker tape process in this earlier post. The idea is to sew down your scraps through all three layers at the same time. As I ran out of fusible paper earlier this week making Japanese applique motifs, I'm hoping Steam a Seam fusible tape will keep these scraps in place while I sew and some of the smaller pieces I've glued down with Guetermann fabric glue. 


I've spray basted the 3 layers together and am using a zig-zag stitch to secure the pieces.  I plan on quilting over the whole thing with horizontal wavy lines as in the Elephant Ticker tape quilt that inspired my Basset Hound Version. I hope to do the final quilting on Saturday if I can get all these little pieces down before then! 


I like the way it’s coming together though it hasn’t used up as many scraps as I thought it would.  The piece is 40 inches wide and Wilbur only takes up a third!  Might have to make a matching one of Charly our miniature Jack Russell. I have quite a few scraps of this fabric (Karavan by Valori Wells) left.  I may have to buy some binding fabric as I used up the bit I had intended for this on my Colour wheel swoon!  I'm thinking it has to be orange!  Wilbur, the real one has a lovely red/orange brown shade to his coat


Every time I work a little bit on this small project I think about other shapes to try this on like a turtle, rabbit, hot air balloon, or a butterfly.  I'm imagining a Rudolph or Christmas tree version!  So many possibilities and fun too, I think it would be a great project to work on with kids.    Linking  up to

WIP Wednesday at Freshly PiecedSew Fresh Quilts
Chezzetcook Modern Quilts

Monday, 30 June 2014

A Finish - “Owls of a Feather…"

You might remember some time ago I wrote about repurposing some gingham squares I had in my stash box for nearly 2 years!  When you run out of steam on a project and the original idea really isn’t worth it it’s ok in my book to make it into something else!

_DSF5176

I finally finished my donation quilt!  The pattern is from creative Patchwork magazine by Sally Ablett and is designed for a pack of 5” charm squares.  Sally cleverly uses blank spaces to spread the squares out a bit with two borders and a skinny strip to frame the quilt.  If you have a spare lonely charm pack lying around you might try this one out! 


I had a stack of squares I had cut up for a double bed quilt and I was bored with just sashing them and joining them together, so they become this lovely quilt which I’m calling Owls of a Feather because of the cute fabric on the back.  (Honestly I couldn’t think of a name for this one and it was the best I could come up with!)

_DSF5180

The main body of the quilt was quilted with gentle curves (Clamshell pattern).  This was my first time trying this pattern and it would have gone better if I had given myself some marked lines to stay within.  I eyeballed it across the quilt and they are not the most even of shapes but it does give a really nice texture to the quilt.  Next one will be better!


I quilted the two outside borders in figure of 8 and had a bit of difficulty turning the corners.  Little stars in the skinny border finished it off and though the quilting isn’t perfect yet, (stops and starts I need to practice), I really like how it turned out and I was definitely getting better by the time I got to the end of the quilt!
 
_DSF5188

Of course all of this was done before I attended a Free Motion Quilting Class and saw Rachel @ Stitched in Color’s tutorial on figure of 8 quilting!  I love this quilting pattern and Rachel explains it brilliantly.  I quilted mine right to left and Rachel does hers from top to bottom.  If you want to try it yourself Rachel’s tutorial is here on her blog.


As this will be used by kids and may get washed a lot I sewed the binding down by hand and also machine stitched along the inside just in case!


You do get a line of stitching on the back but it's almost invisible on the front.  Probably unnecessary but made me feel better.  

_DSF5182

For now this has been posted off and I still have another 70 or so gingham squares left in the box!  The fabric used was Moda Bella White, Kona Azure, Kona Peacock for the binding and I think the cream was Ikea!  Measures approx 65” x 65”.

As this was a FAL goal I'm linking up to The Littlest Thistle, the Library Project, and the Friday Finishes.  
Finish Along 2014
Crazy Mom Quilts and

Wednesday, 18 June 2014

WIP Wednesday: Quilt backing & basting!


I've been on a piecing run lately exploring log cabin blocks and piecing quilt tops.  The to be quilted pile has gotten a bit big, so I thought I'd better crack on and get a quilt top basted.  My donation quilt has been sitting there for a few weeks looking at me and I have backing on hand for it so it's top of the pile!  This is one of my Library projects (actually make something from the books and magazines we buy!) that I first wrote about here.


Of course first it meant making the backing.  As the quilt top is over 60" square, I needed to cut and piece this sleepy owl design.  It has a repeating pattern which needed a bit of alignment first.  To match up the pieces, I ironed a seam along the length and used this edge to match up right sides together.  I had to move the pieces along until I found the correct repeat and lost about 6" in length not overlapping at both ends.


Pinning along the whole length of the seam, I sewed along the ironed line.  This worked pretty well for me most the of the way along the backing fabric.


Following advice from Crazy Mom Quilts I snipped away all loose threads so the dark colours wouldn't show up through the white (this happened to me on my Halloween quilt - black threads showing through the cream sashing!).


Then it was kick the dogs out, move the sofa, hoover (that's vacuuming on our side of the pond!), wash the floor, hoover again and then layout to make sure its wide enough!


While Charly was doing her hop from one side of the patio window to the other, for some reason  looking at the kitchen door, (Hello Charly, right here in front of you!) I taped the backing to the floor and laid out the wadding (this is Warm & Natural from Hobbs).


I trimmed it all around and laid down the quilt top.  Then I turned on the TV to watch Thor as pinning safety pins through all the layers takes a bit of time!  I'm hoping to try table basting and need to buy clamps to secure to the table, plus I'd like to try the board method where you wrap the quilt over some wooden boards too.  Have any of you guys tried these methods?  Getting down on the floor doesn't bother me, though I do feel it in the glutes afterwards!  Trying to baste anything bigger than this would be a problem as I don't have the floor space for it.


I hour and 23 minutes later...  I might have been a bit distracted watching the movie!


I love using curved safety pins and pin about a hands width across the quilt.  I probably pin more than I have to but after the last quilt puckering on me, I wasn't taking any chances.  So much so, I ran out of curved pins and had to rummage the first aid kit for some straight ones!  There is something very satisfying about finishing up basting!


While Charly was doing her door dance,  I thought Wilbur was chewing on a rawhide bone.  I forgot that Wilbur likes to dig in the garden and bury the odd rawhide bone or two.  It's very comical watching him sussing out a spot and making sure no-one is watching him.  Of course, this time no-one was watching him and instead of burying his bone, he must have decided it wasn't safe where he first put it.  While I was basting away, he was busy buring his bone in my Stash box of backing fabric!


This isn't Wilbur but it's what I imagine he looked like when he was nose deep in Ikea Britten nummer!  Mucky pup!
Image from Facebook Doggie of the Day!
So backing fabric is getting a wash, Wilbur is getting a walk and Charly and I are getting ready to quilt!  To check out what everyone else is up to I'm linking up to:

Chezzetcook Modern Quilts
WIP Wednesday at Freshly Pieced
Sew Fresh Quilts
Related Posts Plugin for WordPress, Blogger...